Denoising in Blender
Denoising is a key feature in every Ray Tracing Render Engine these days. It helps to get noise-free images way faster. In this article, I want to show you, how you can use the denoising feature inside of Blender. No matter if you are using Cycles Render, LuxCore Render, or Octane Render.
Table of Contents
Denoising in Cycles
Denoising in Blender became relatively simple since Blender version 3.1.
Just hit Render Properties in the Properties Window and under Sampling you have options both for the Viewport and for the final render.
Just check the Mark At Denoise and the Denoiser is activated.
But of course you have some Options there. You can choose between two AI algorithms to Denoise your Images.
You can either Choose Optix by Nvidia, which is the faster algorithm, especially if you have an RTX GPU.
Or OpenImageDenoise by Intel, which is much slower even with an Intel CPU but delivers slightly better quality.

Make sure that you don’t use the Denoise Node in the Compositor. Using multiple denoising algorithms simultaneously can cause issues.
Denoising in LuxCore Render
Step 1 (Activate the Denoiser)
Check the Denoise Box, which you can find in the Properties panel > Render Properties.

Make sure that you don’t use the Denoise Node in the Compositor. Using multiple denoising algorithms simultaneously can cause issues.
Step 2 (Set Halt Conditions)
The LuxCore Render Engine, by default, runs forever.
The Denoiser only starts after the Render. Which is the reason you have to define a point at which the rendering process stops.
You can do that by checking the Box Halt Conditions, which you can find in the Properties panel > Render Properties.
By default, it will Use Time, which means the time (in seconds) defines when the Render Stops. You can also change this to Use Samples where the Render runs until a specified amount of samples achieved, like in Cycles Renderer. Alternatively, you can also Use Noise Threshold at which the render stops depending on how noisy the Image is.

Step 3 (Switch to Compositing Workspace)
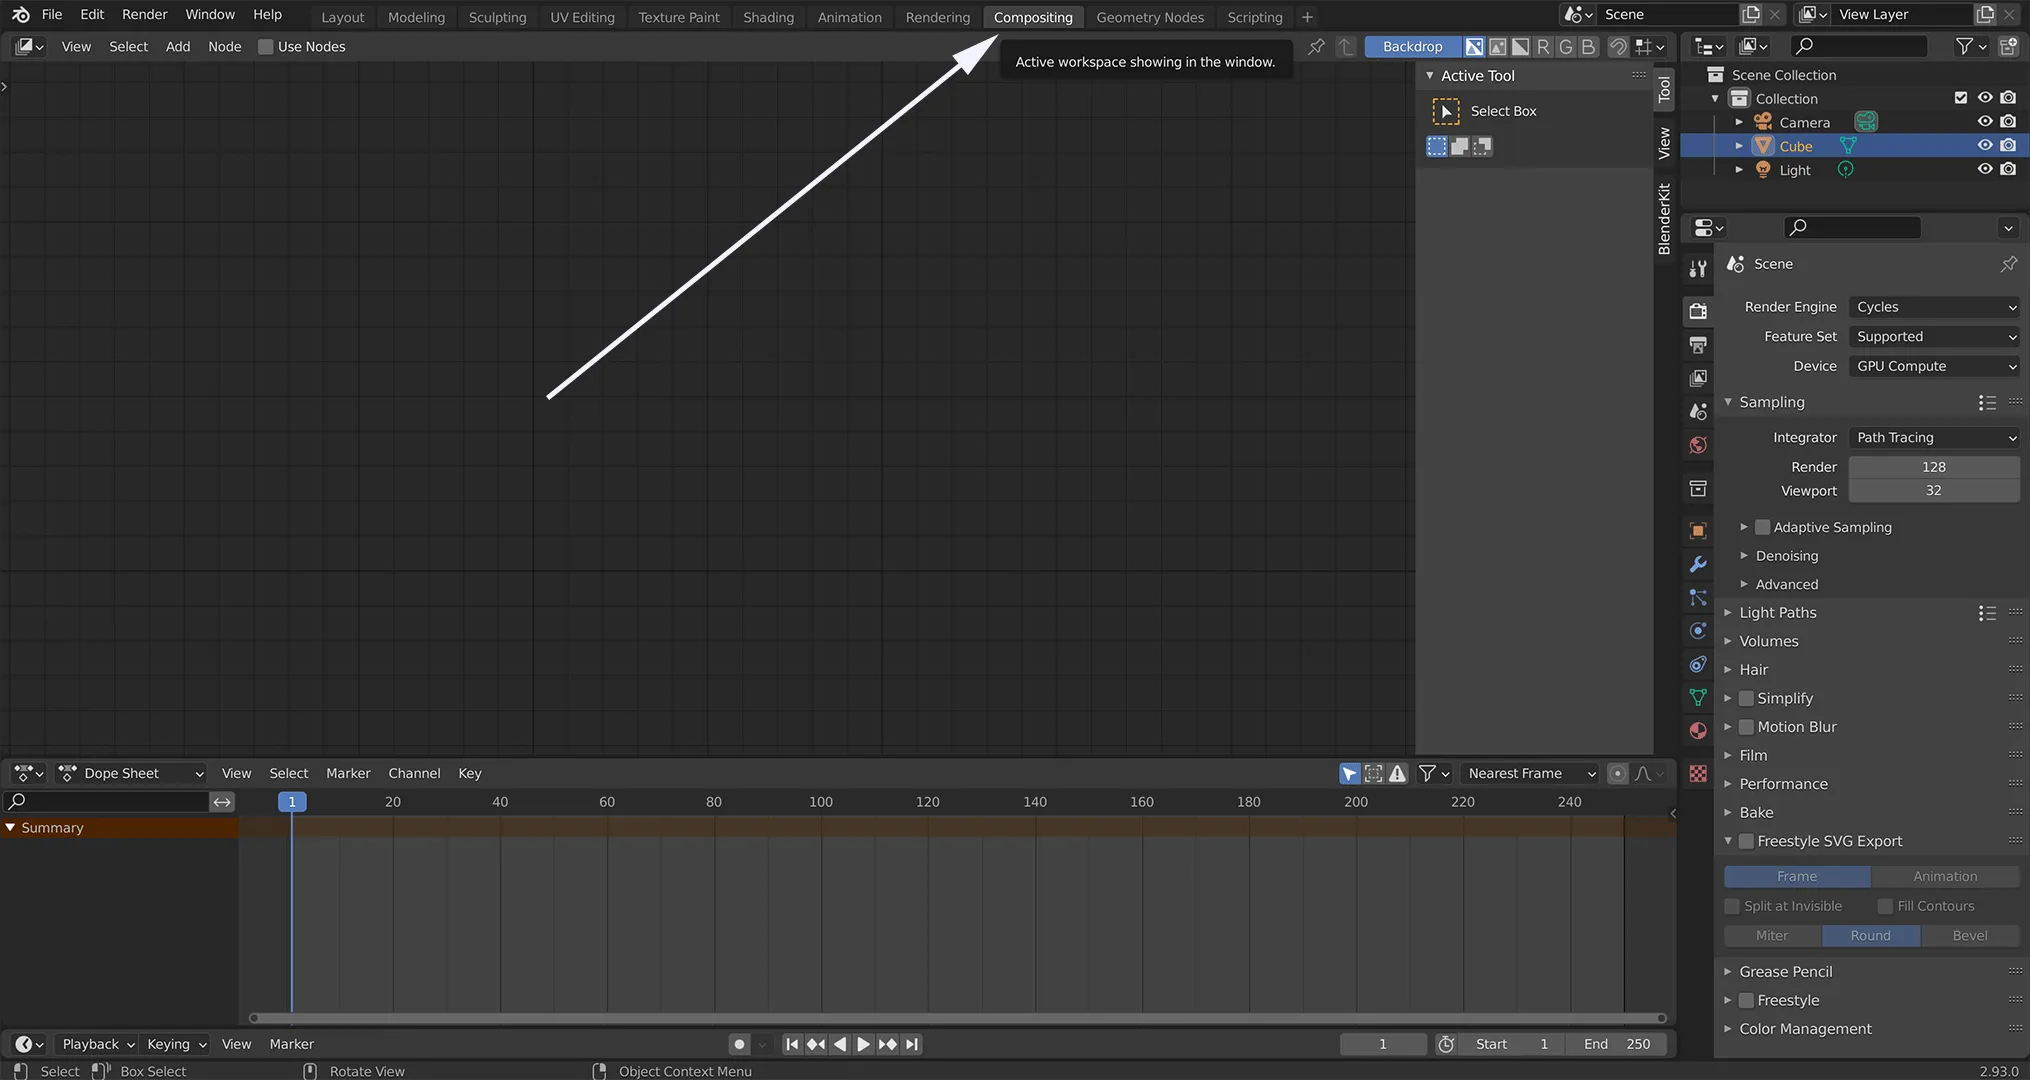
In the Compositor you can set, what should happen with the image after it has been rendered. Here, you want to Denoise the image. Blender already sets up a working space for compositing, to which you can switch by clicking on compositing at the top of the window.

Step 4 (Activate Compositing Nodes)
To activate the nodes within the Compositor, you need to click on Use Nodes.

Step 5 (Connect the DENOISED Output)
Connect the DENOISED Output of the Render Layers Node with the Image Input of the Composite Node to use the Denoised image instead of the default image as your output.

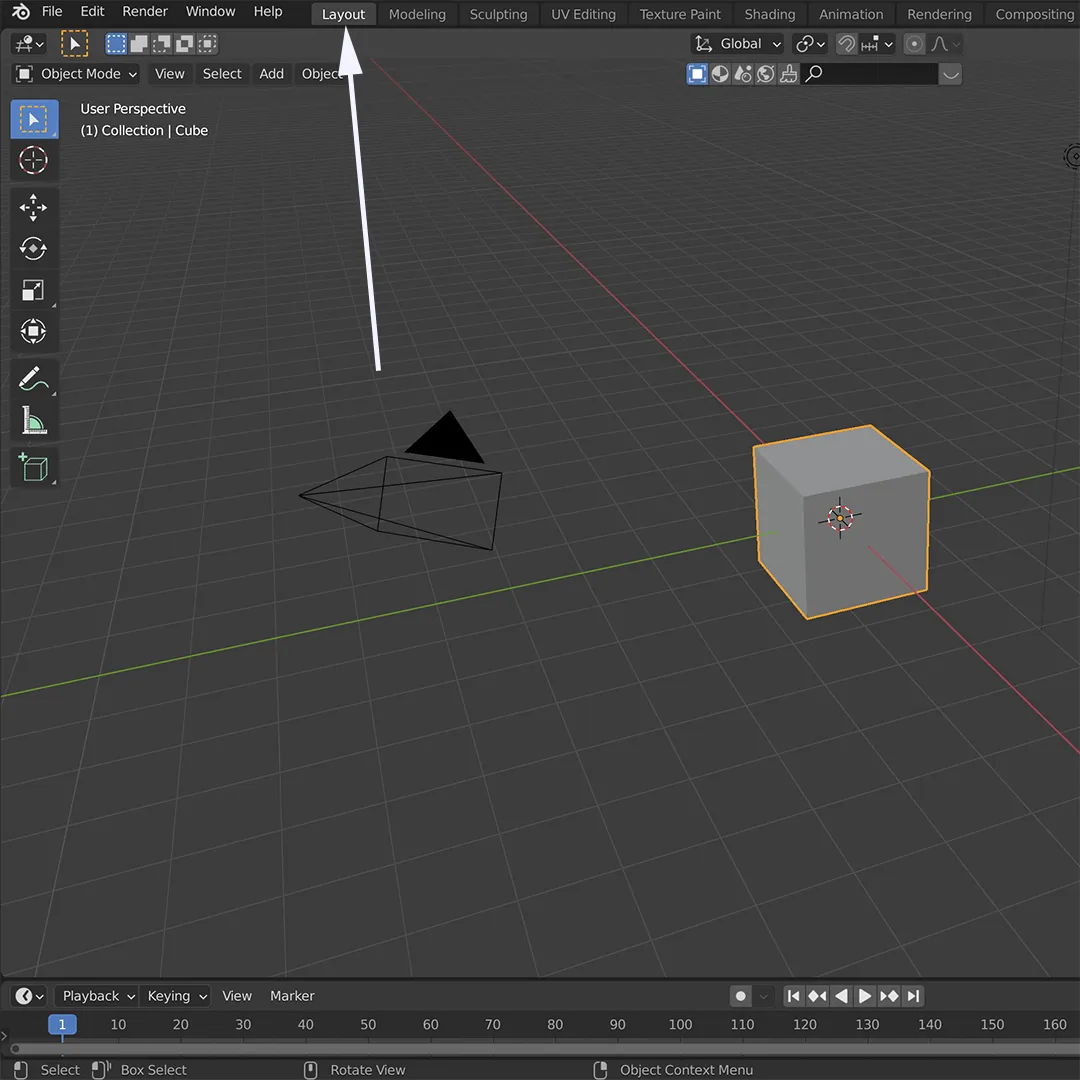
To get back to the default workspace, just click on Layout at the top of the window.

Denoising in Octane Render
Step 1 (Activate the Denoise Beauty Pass)
Check the Beauty Box, which you can find in the Properties panel > View Layer Properties > Passes > Denoiser.

Step 2 (Activate Octane Camera Imager)
Tick the Box Octane Camera Imager (Render Mode), which you can find if you select a camera in the Properties panel > Camera Properties.
Note that this setting only relates to the selected camera. If you are using multiple cameras, you have to do this and Step 3 for every camera on which you want to use the Denoiser.
Step 3 (Activate the Denoiser)
Tick the Enable Denoising and Denoise Volume Box, which you can find if you select the camera in the Properties panel > Camera Properties > Octane Camera Imager (Render Mode) > Spectral AI Denoiser.

Step 4 (Switch to Compositing Workspace)
In the Compositor you can set, what should happen with the image after it has been rendered. Here, you want to denoise the image. Blender already set up a working space for composing, to which you can switch by clicking on compositing at the top of the window.

Step 5 (Activate Compositing Nodes)
To activate the Nodes in the Compositor, you need to click on Use Nodes.

Step 6 (Connect DENOISED with Image Input)
Connect the OctDenoiserBeauty output of the Render Layers Node with the Image Input of the Composite Node.

To get back to the default workspace, just click on Layout at the top of the window.


394870 153066I like this blog so a lot, saved to bookmarks . 513762