13 Tips for more realistic renderings in Blender
In this article, I want to give you some Tips at the hand to get more realistic Renderings and also explain why you should use them and what they actually do, to give you some deeper knowledge. Everything here can be applied to CG in general, but it is written specifically for Blender.
Table of Contents
Use HDRIs!
HDRIs or spherical images, as they got called, are images that get wrapped around a 3D scene to light the Scene.The benefit of using HDRI lighting is, that it brings a lot of details with it which is the reason, it makes the render much more realistic and on top of that, it is quick and easy to set up.
You can also supplement the HDRI lightning with some additional lights if you want to brighten up a specific area, for example.
Since HDRI means High Dynamic Range Image, images with a higher Dynamic Range should be used, this can make a huge difference even if you don’t export your images in a High Dynamic Range.
To everyone who wants to create studio light, I recommend the Blender Studio Light Add-on. It is a free add-on that allows you, to create your HDRIs within Blender by using images of real lamps, which, like normal HDRIs also give you the advantage of the extra detail to create more realistic renderings.
You can recognize images with a high dynamic range by their format. Formats like Radiance HDR, OpenEXR, TIFF, and some other formats can contain HDR images, while formats like JPEG or PNG can not.
Bokeh
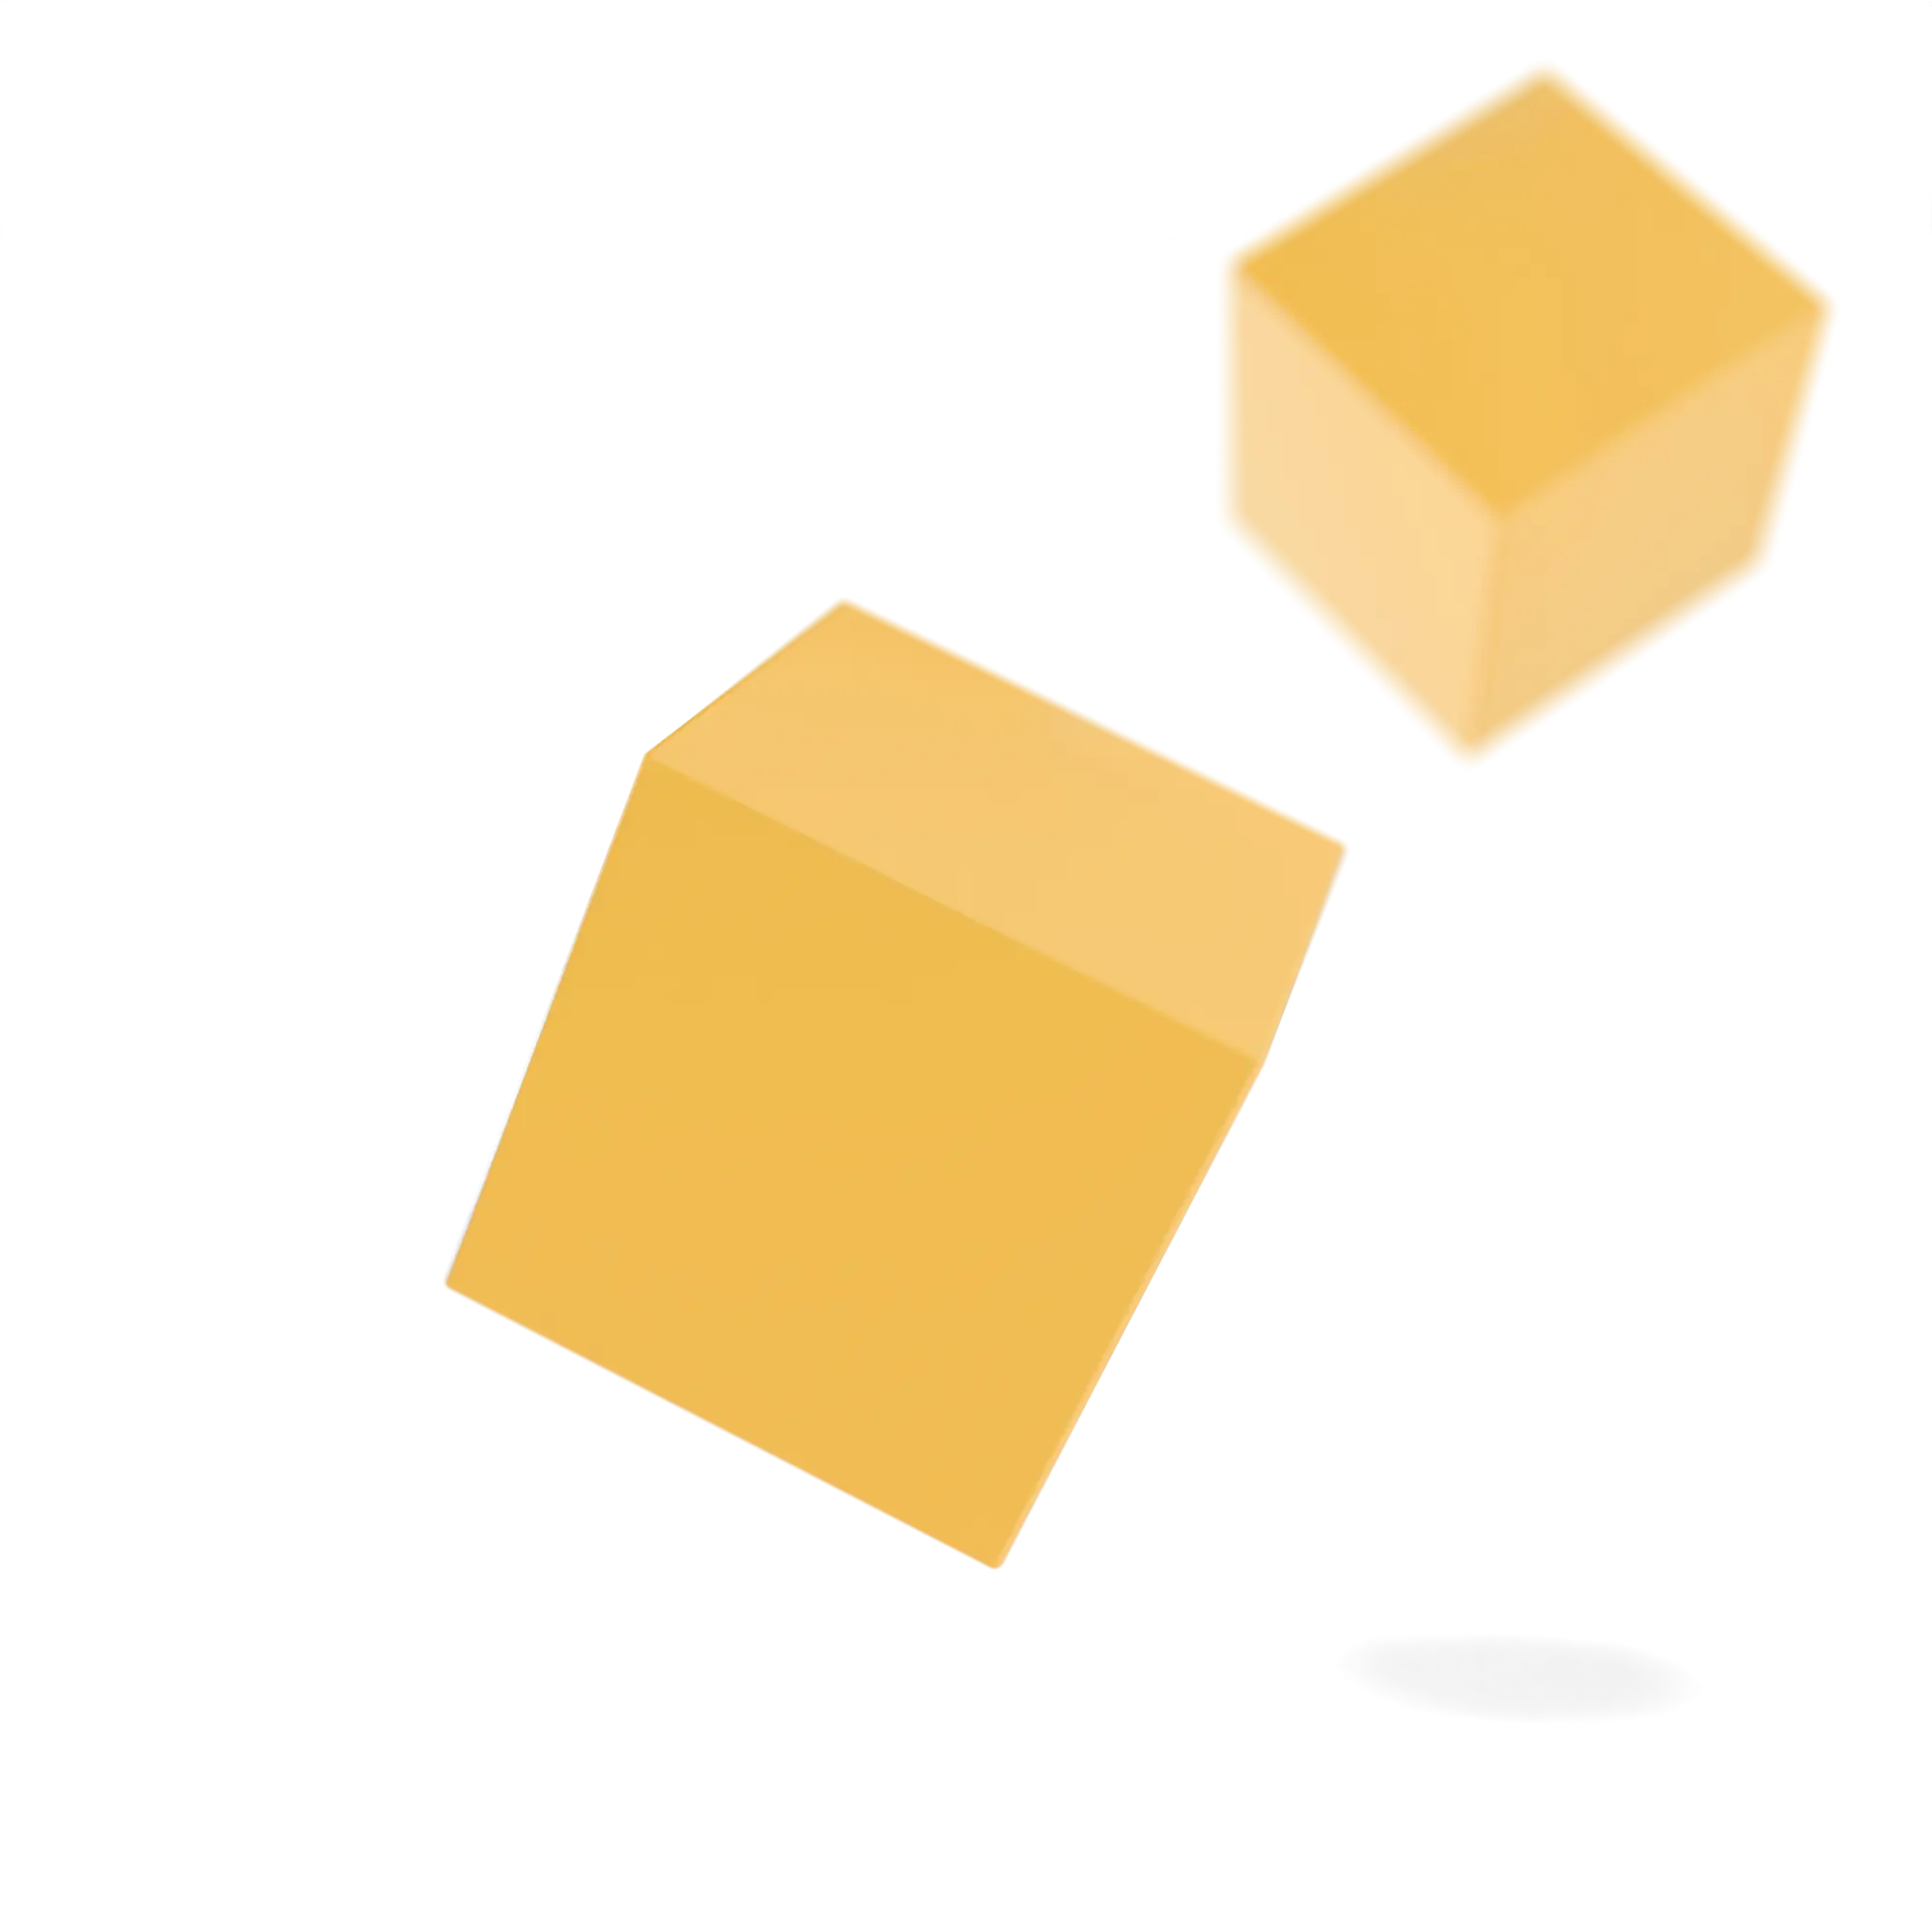
By using the Depth of Field feature, which you can find in the Camera Menu, you can create Bokeh, which not only makes your image more realistic since it emulates something that is happening inside a real camera.
It also gives you the possibility, to hide things you don’t want to show, like parts with fewer details or seams in the texture. Because, let’s face it, you can’t create everything with high details because it would take waaaay too long.
Bevels
If you take a look around you, You won’t see many objects with sharp edges. There are some exceptions, like sharp or really thin objects. But these are just exceptions. And making something look realistic means making it look like it would in reality.
Also, if you create some more abstract motion graphics, this small light edge can enhance the final result.
Motion Blur
Motion blur is in every photo or video; sometimes it is so little that it is invisible or only gets recognized subconsciously, but technically speaking it is there all the time. Which is the reason I recommend using it if realism is your goal.
To activate Motion Blur, you just have to tick the box that says Motion Blur, which you can find in the Render Settings.
Of course, you need to have a moving object in the scene to see motion blur. If you have a still image, just animate the camera a bit.
The default options should be right most of the time, but I still explain the settings to you.
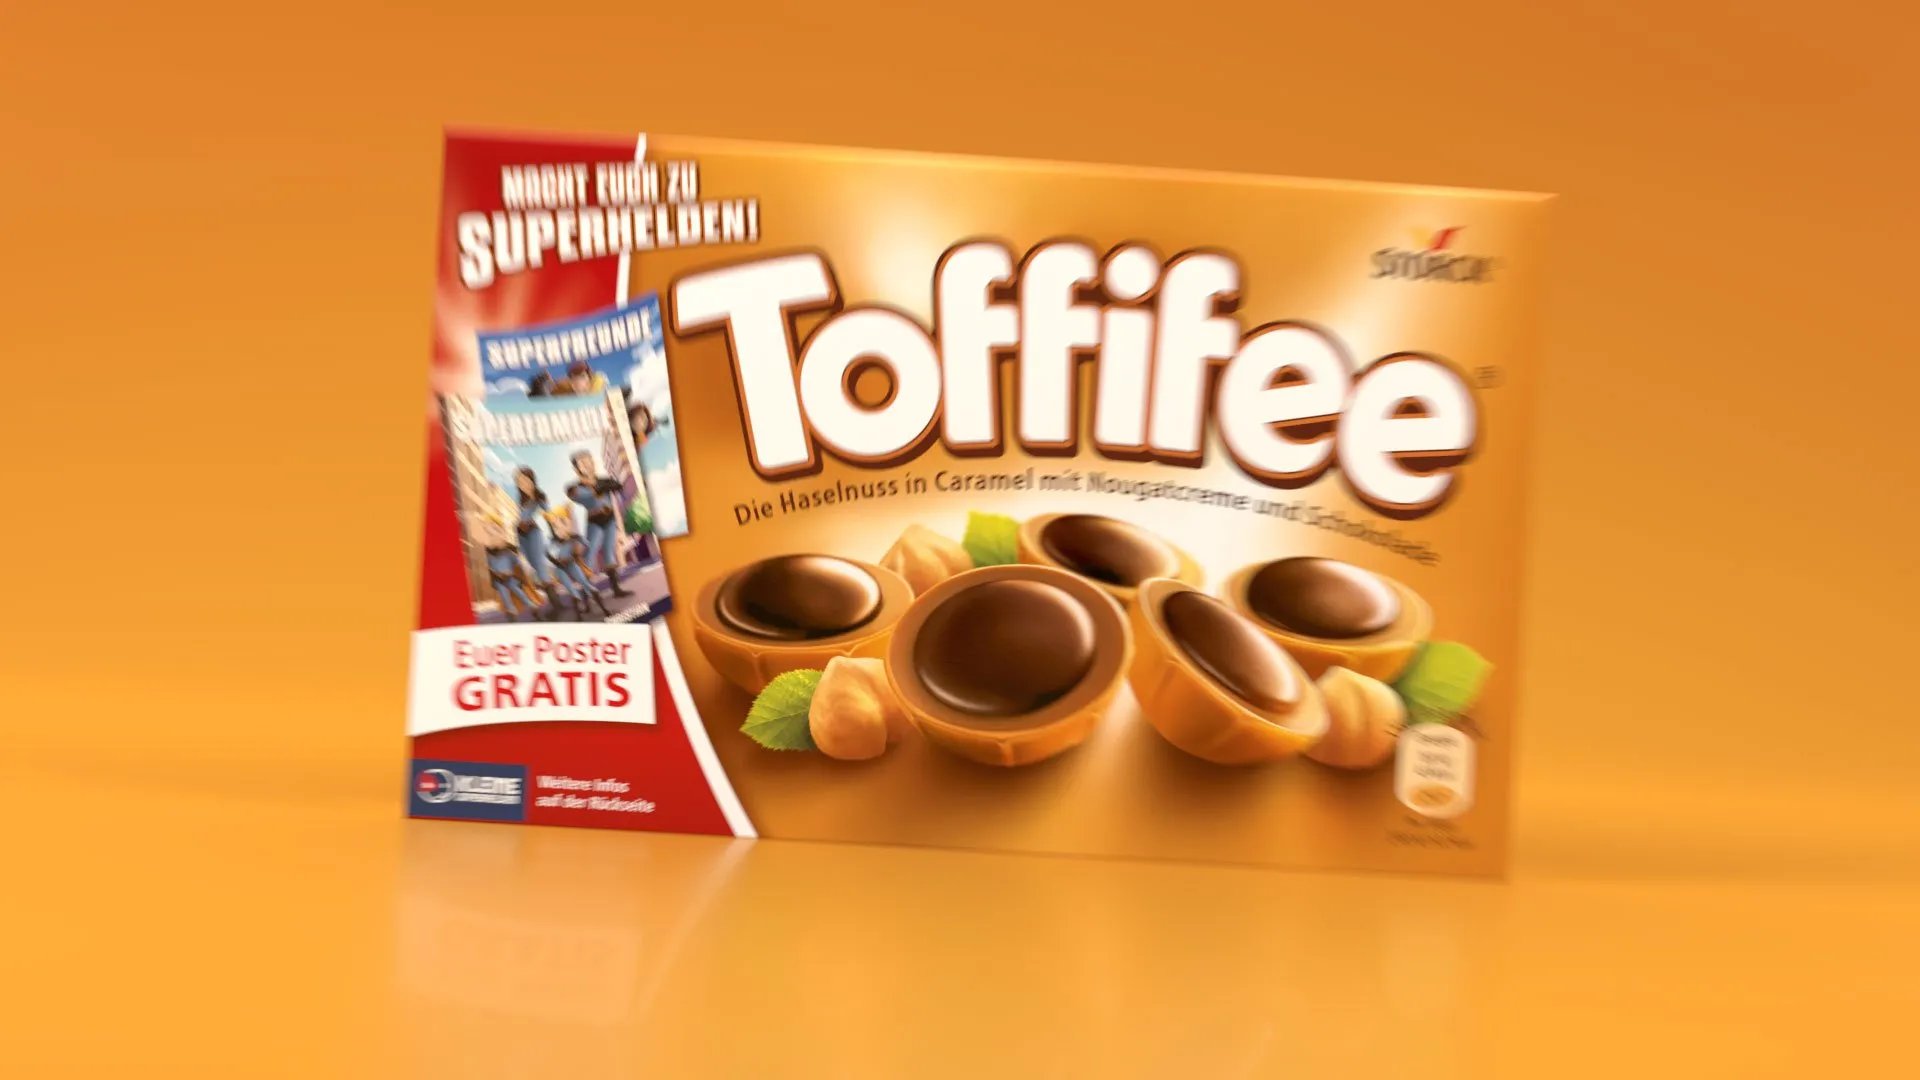
Shutter
The Motion Blur is a build-up of two effects; the first one is called Shutter. Which in real life happens because the camera captures the light through a small period of time. Usually the half-length of a frame. This means if you’re filming with 24 frames per second, the period of time in which the light hits the sensor is 1/48 second. With 25 frames, it is 1/50 second; with 30 frames, it is 1/60 and so on.
The longer the time is the light can hit the sensor, the more motion blur you will get, and vice versa. You can set the amount of time the light hits the sensor per frame with the Shutter Option. Which is by default set to .5, which means how I mentioned the half-length of a frame (24FPS 1/48s, 25FPS 1/50s, 30FPS 1/60s…), which is the setting most cameras also have by default. You can also change this to 1, for example, which would mean the light would hit the sensor for the complete length of the frame, which means 24FPS 1/24s, 25FPS 1/25s, 30FPS 1/30s…
You can use this if you want to combine video and CGI and you had another setting for the shutter in your camera, but most of the time 0.5 will give you the most aesthetically pleasing results.
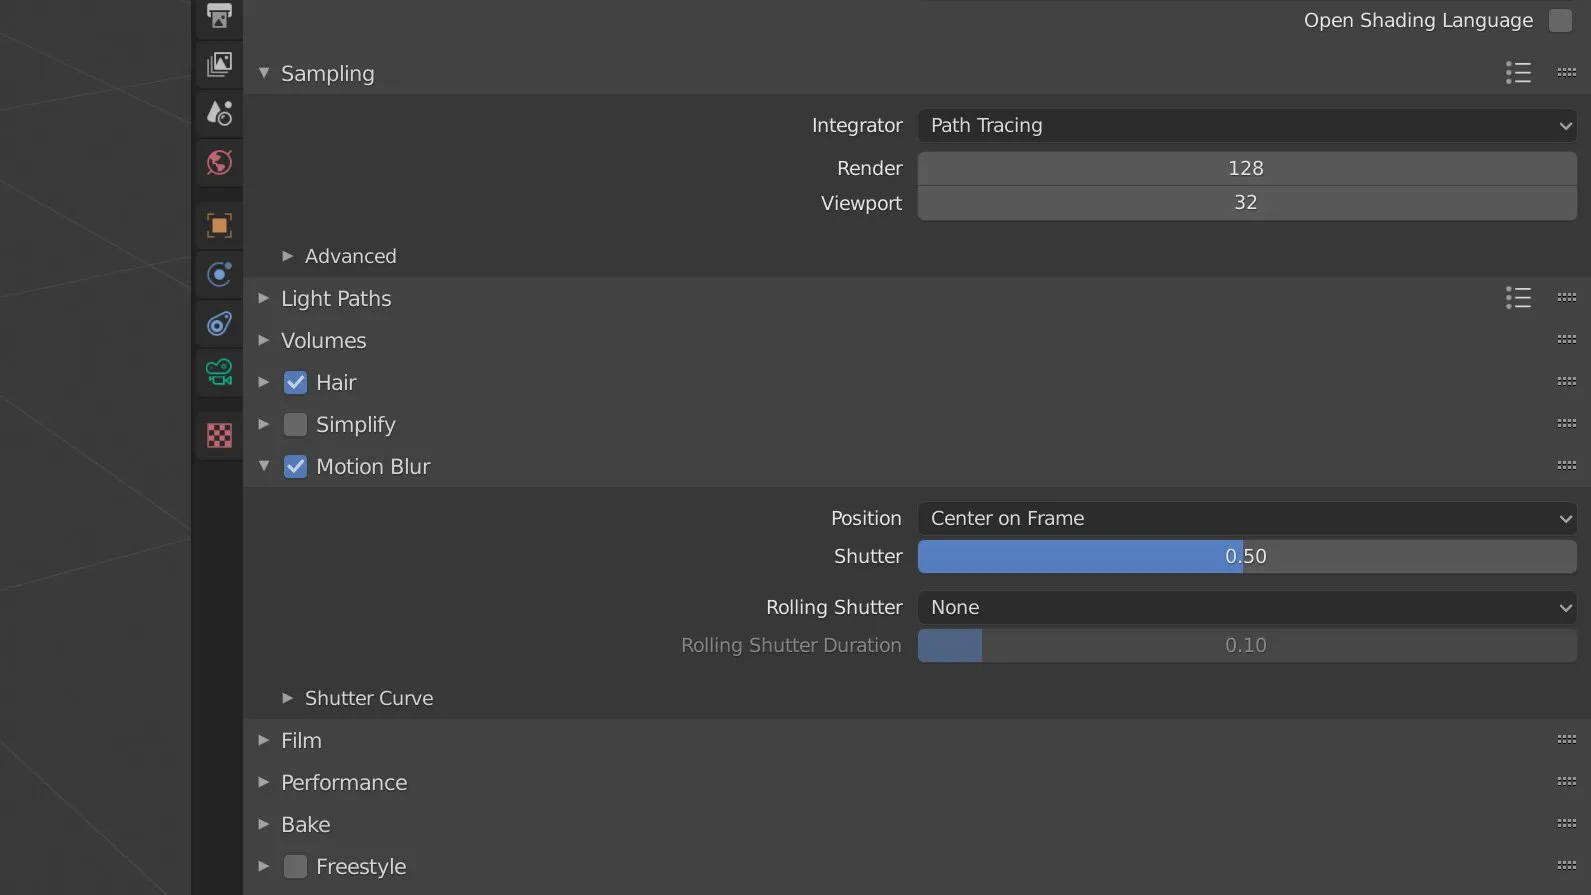
Rolling Shutter
The other effect is the rolling shutter. The reason, that this happens in real life, is that the camera captures the images in lines from Top to Bottom. This happens quickly but not at the same time, which is the reason you can see it when it comes to fast-moving objects like cars or planes. It also happens with almost camera swivels.
In Blender, you can activate it by selecting Top-Bottom for The Rolling Shutter, which is currently the only option. You can set the strength with the rolling shutter duration, but also here the default settings will do their job most of the time.
Also, if rolling shutter gives you more realism, you should ask yourself if you want to use it because it is less aesthetically appealing compared to the normal shutter effect.
Reference Images
Since we try to remake something that’s already existing, at least until a certain degree, it makes sense to orient somewhere. Also, if you know how an object looks, it always makes sense to get reference images because most of the time it is a bit different, then we remember.
Getting close to a real object can make a big difference because to recognize something, the basic shape often is enough for our brain to reconstruct the rest.
For example, you probably know, that I this bottle is no water, and some people would even know which brand this bottle is from.
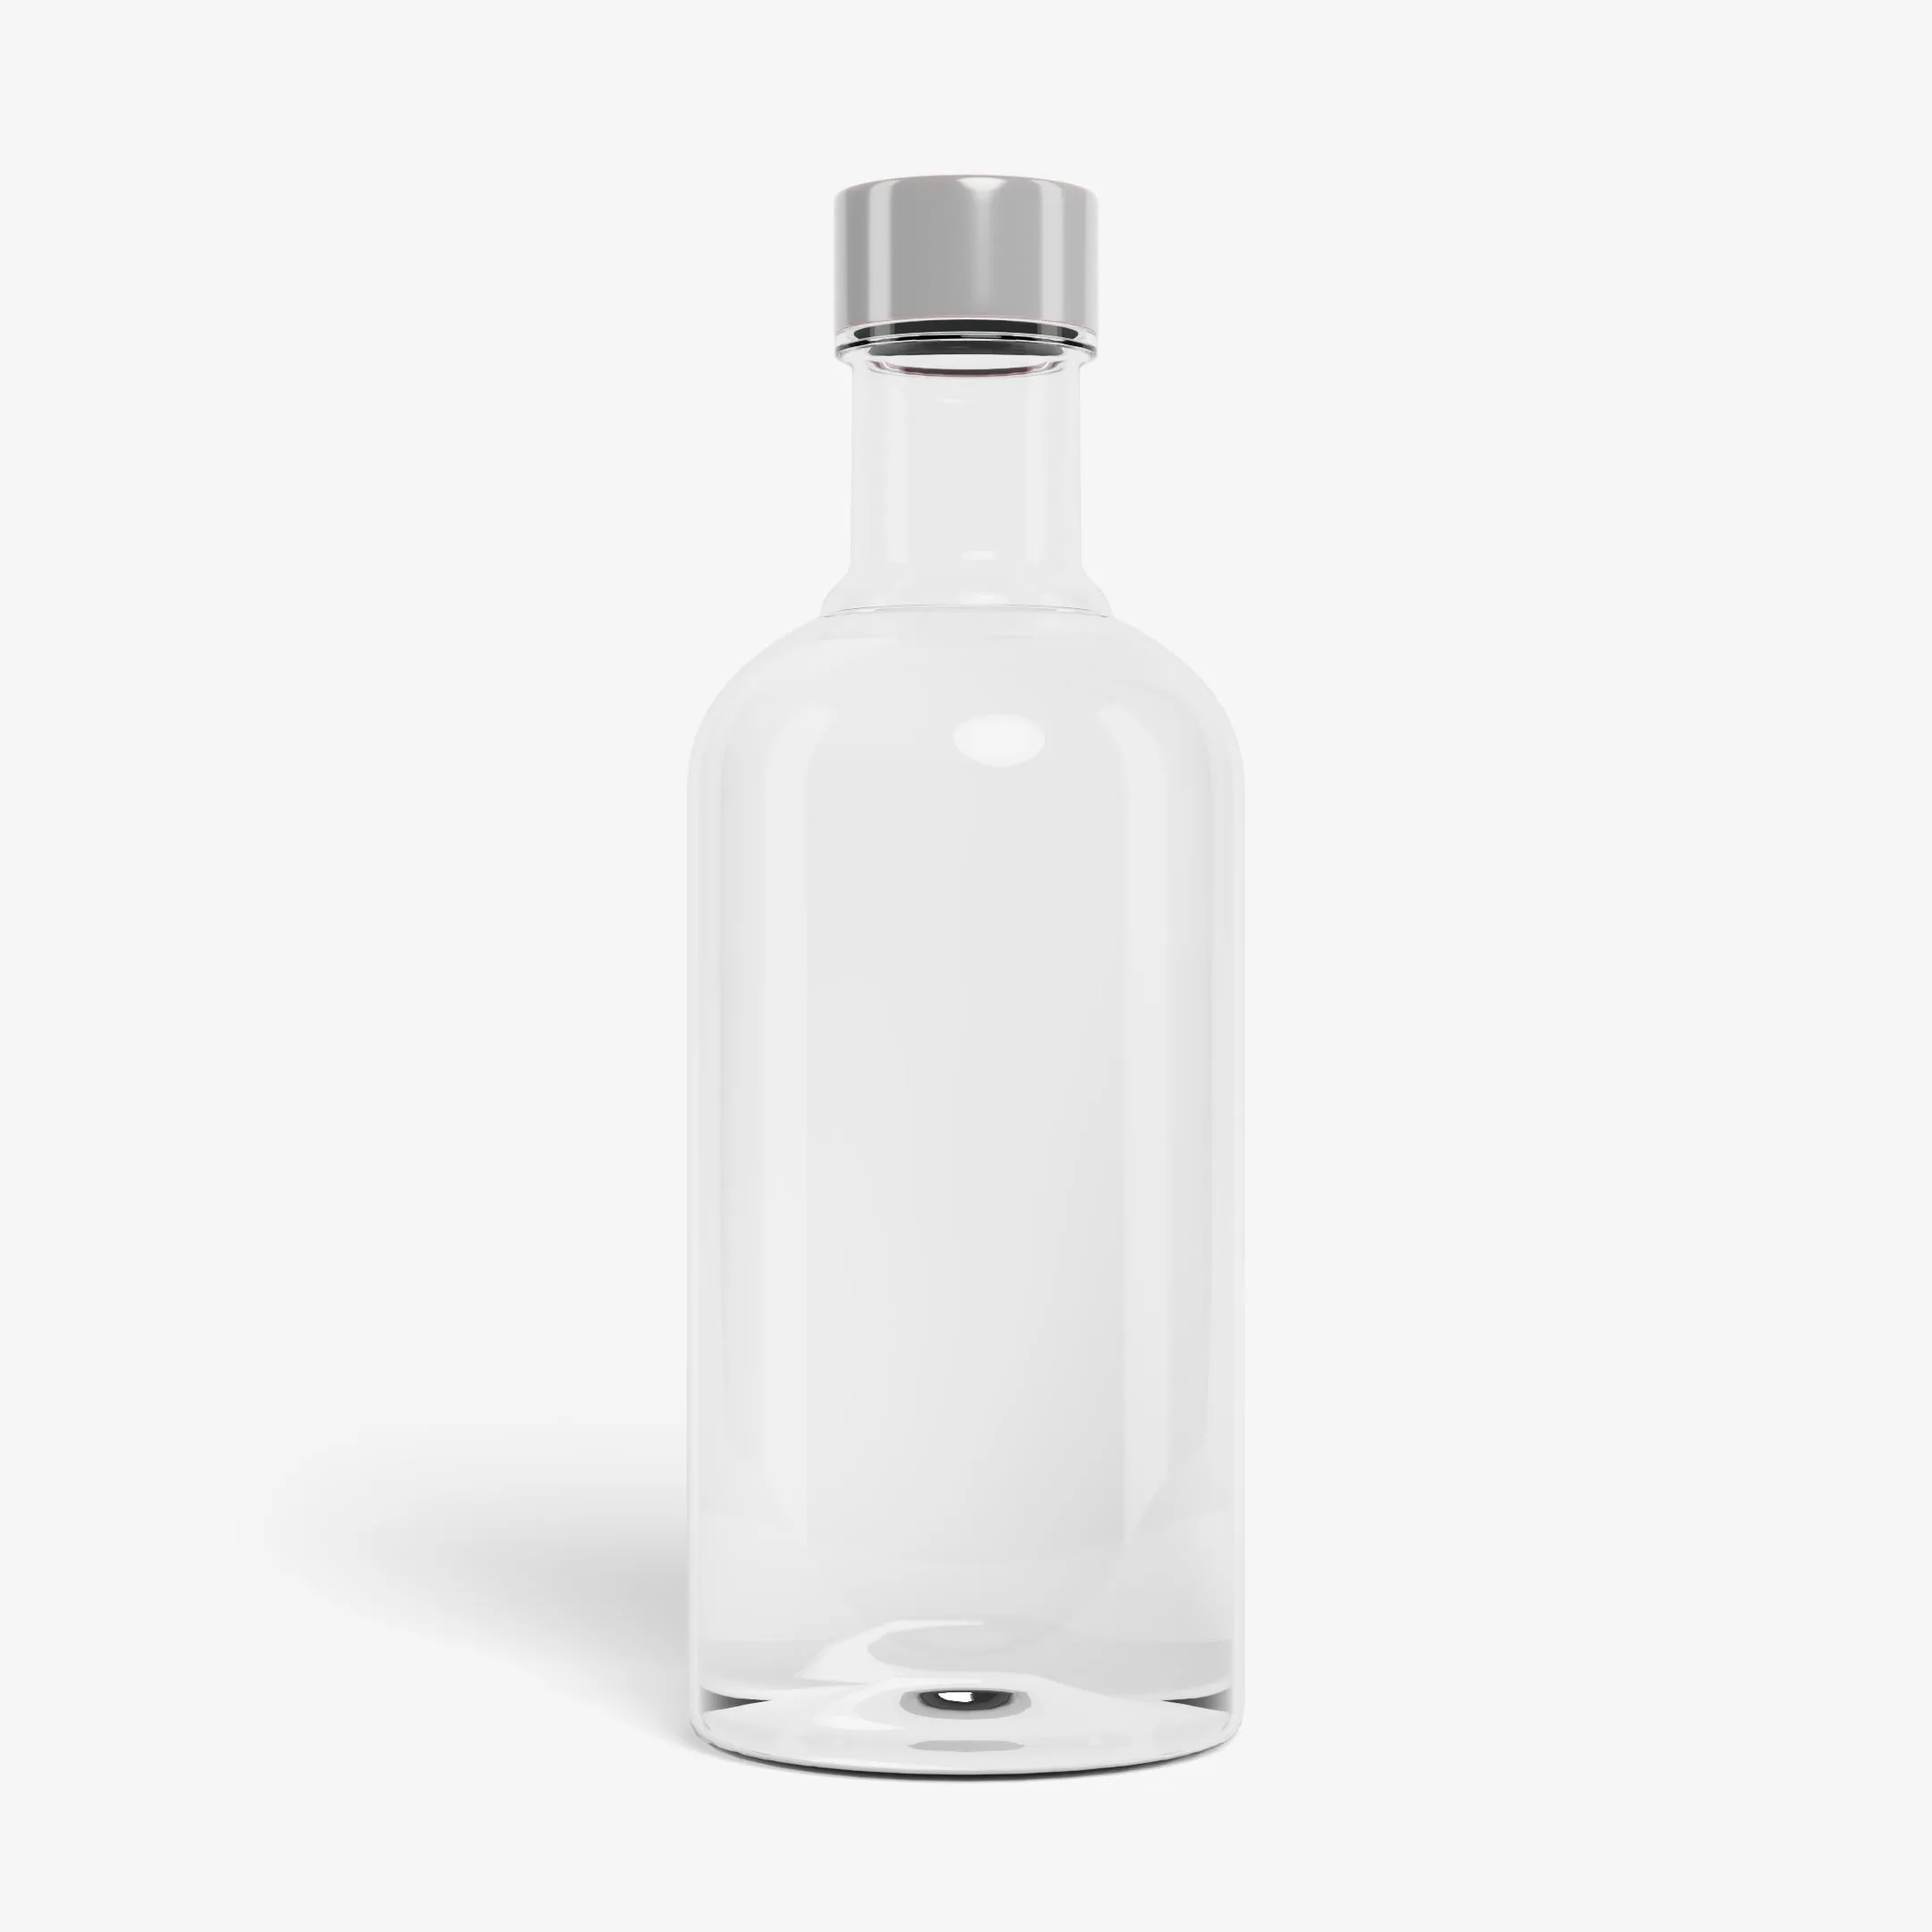
To organize your reference images, there is a helpful and free software called PureRef. At this point, it can also be helpful to have a second screen.
Accurate measurements
Your EXgirlfriend is lying to you. Size Matters!
At least when it comes to scaling objects in Blender.
I feel like a lot of people have a bad sense for the actual size of things. Therefor, it makes sense, to do some research on how big things really are or how big they would be if they existed.
By default, 1 unit in Blender equals 1 meter. You can also change that to the imperial system in the Scene Options.
Using realistic value gives you also the possibility to orientate at realistic cameras, and lenses, when it comes to the camera settings.
A good example where size is off is in almost every car animation on YouTube.
Imperfections
Denoise
In the real world, nothing is perfect; every surface has unevenness, scratches, and dirt on it.Ideally, you use a reference image to see, where things wear out and where the paint comes off first.But don’t overdo it. The model should fit inside the scene and inside the story you are telling.
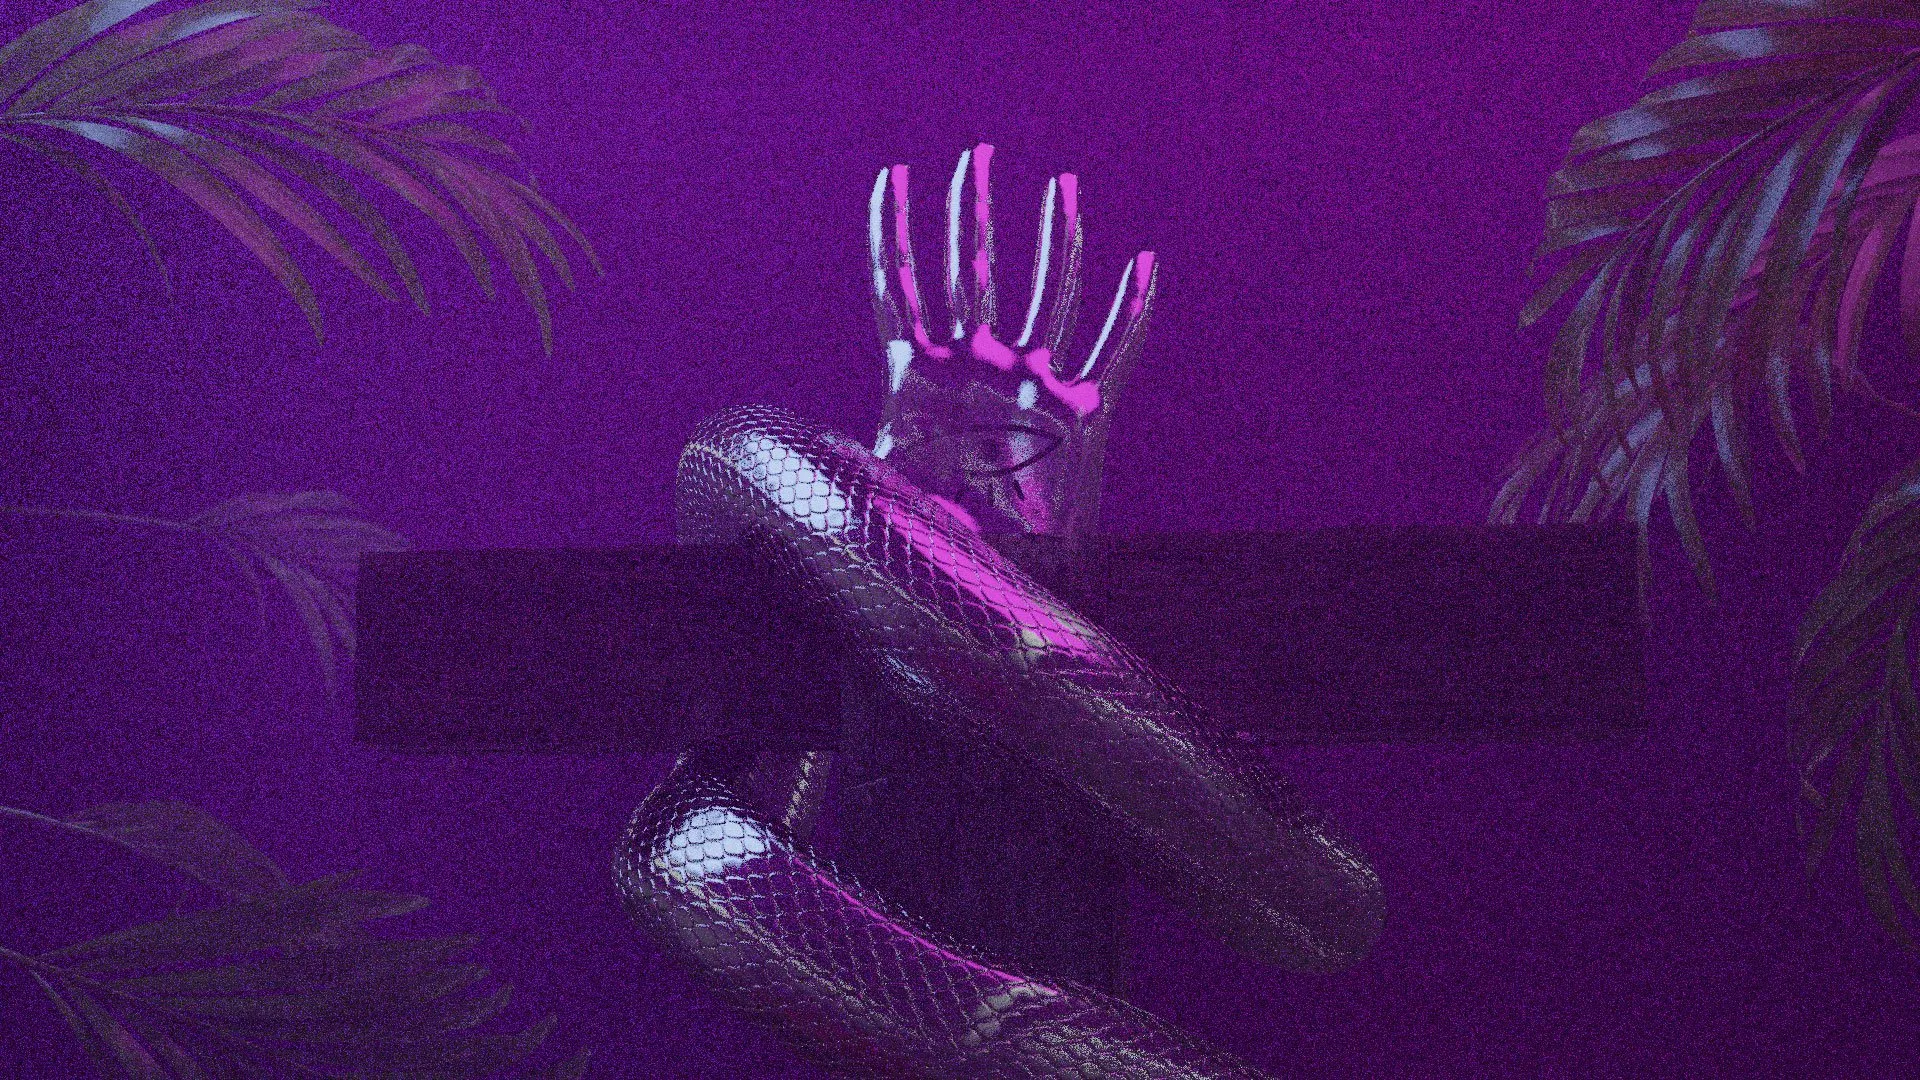
The type of noise you have in your render if you are using a low sample count is a different type of noise than what you would see if you would use a camera. Which is the reason it makes sense to remove that noise.
Blender offers plants of options for that.
If you want to have film grain inside your images or video, there are a lot of options to achieve this in Photoshop or After Effects.
Personally, I am using the Nik Collection in Photoshop and Magic Bullet Looks in After Effects.
Enough Lightbounces
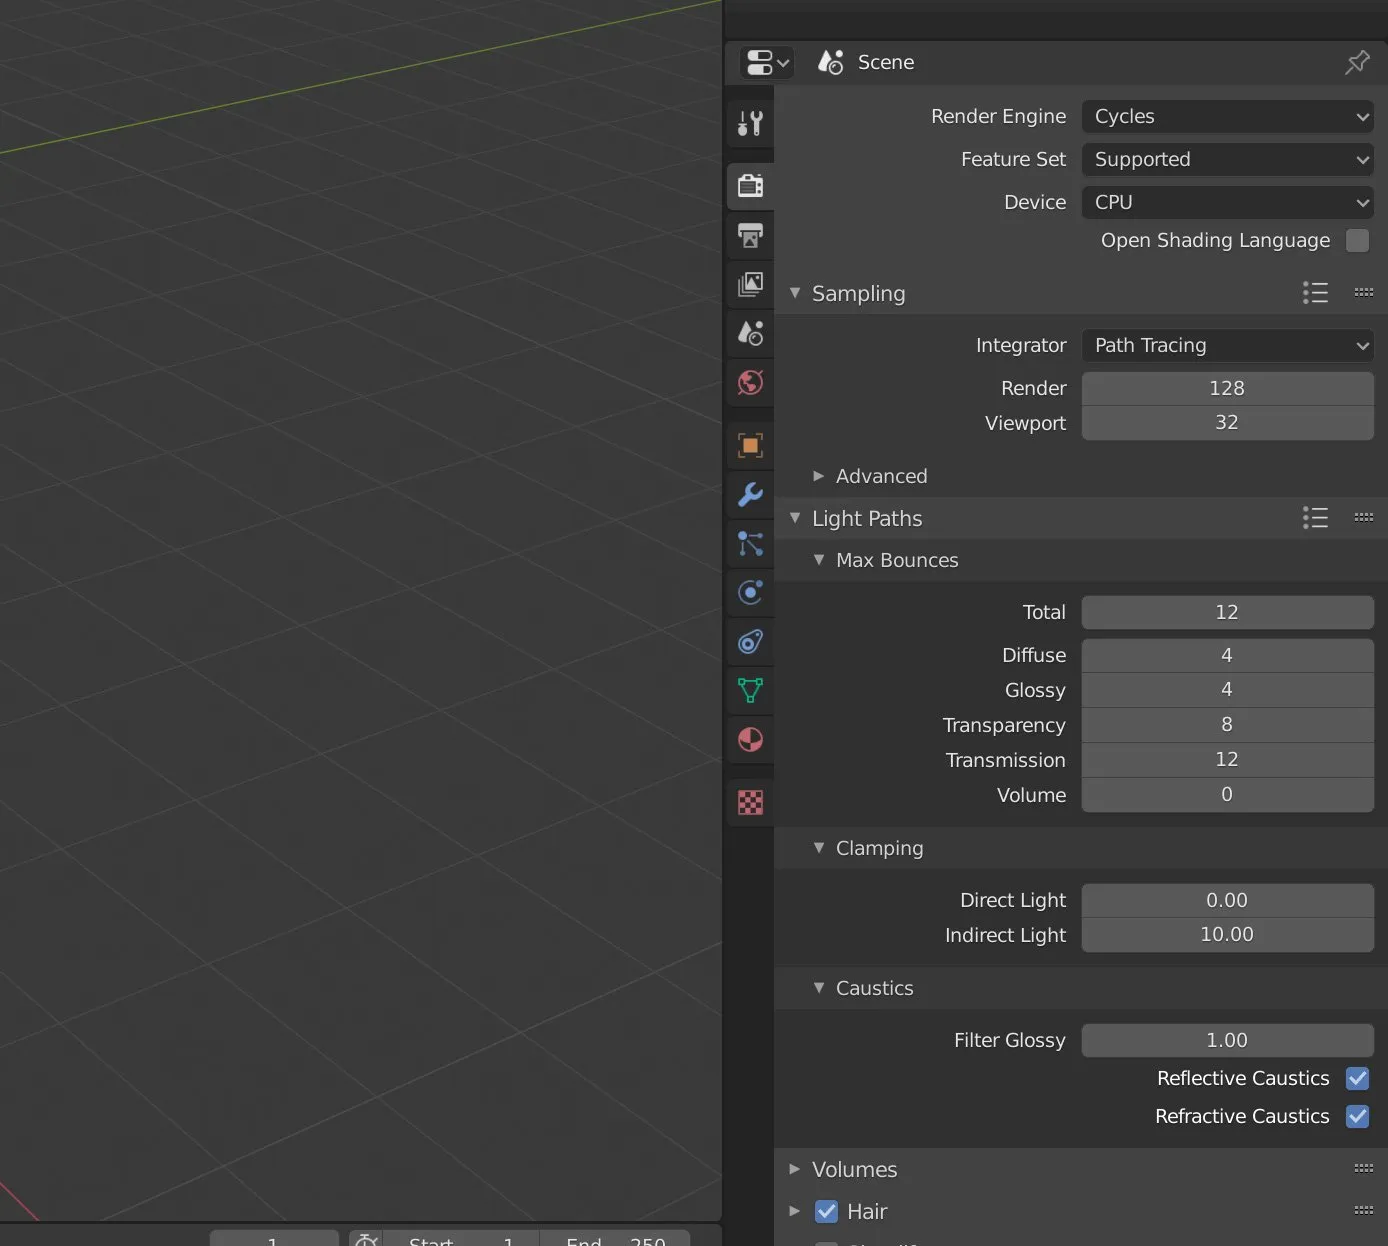
In reality, light bounces around a couple of thousand times. The problem is, that this would eat up too much computing power, which is why you can set the number of light bounces in Blender. By default, the maximum bounces are set to 12 which is enough most of the time.
But in some cases it can make sense, to use higher values, especially, when it comes to glass materials.
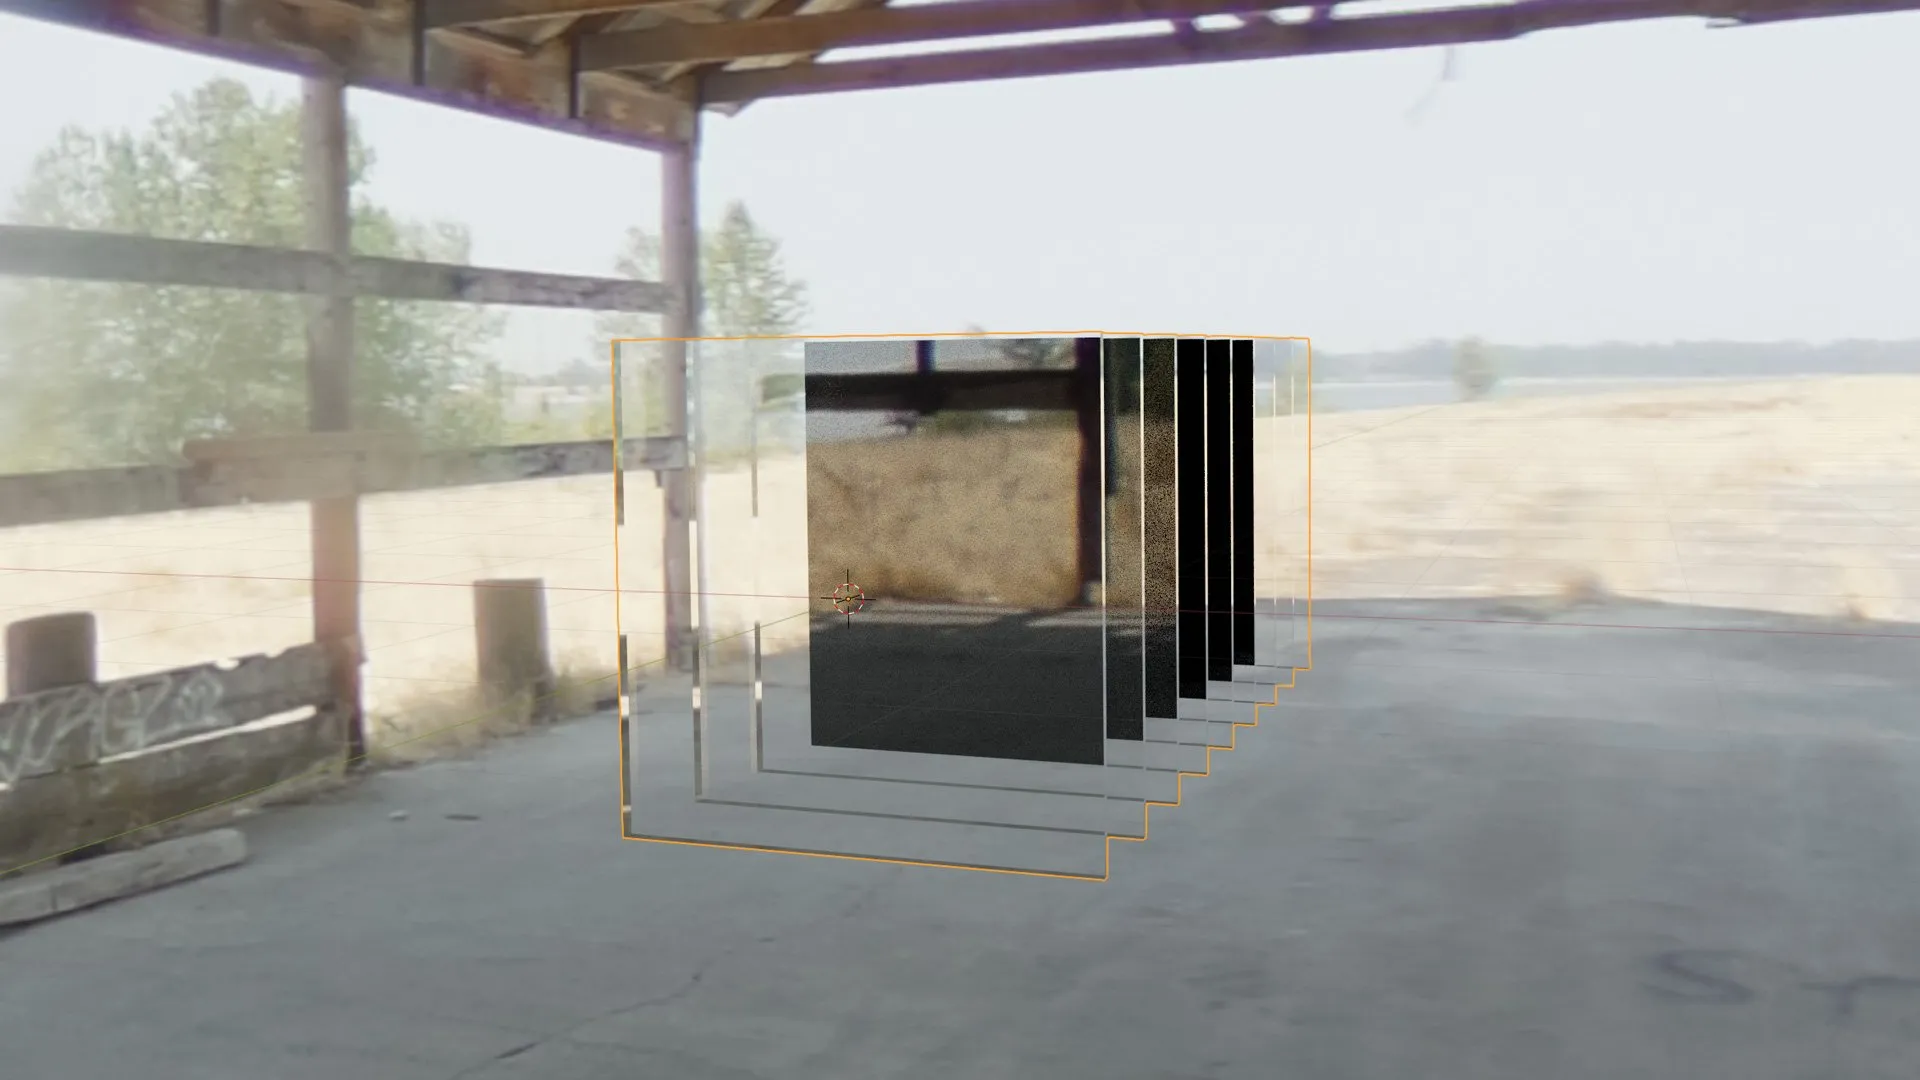
In the picture, you can see the light only coming through the first three plates of glass. The reason is that I limited the maximum light bounces to 4. But also, if it is most noticeable with glass, it can make a difference with any other material, especially in more complex scenes.
You can change the maximum amount of light bounces in the Light Paths menu in the Render Settings.
Not only use Principled Shaders
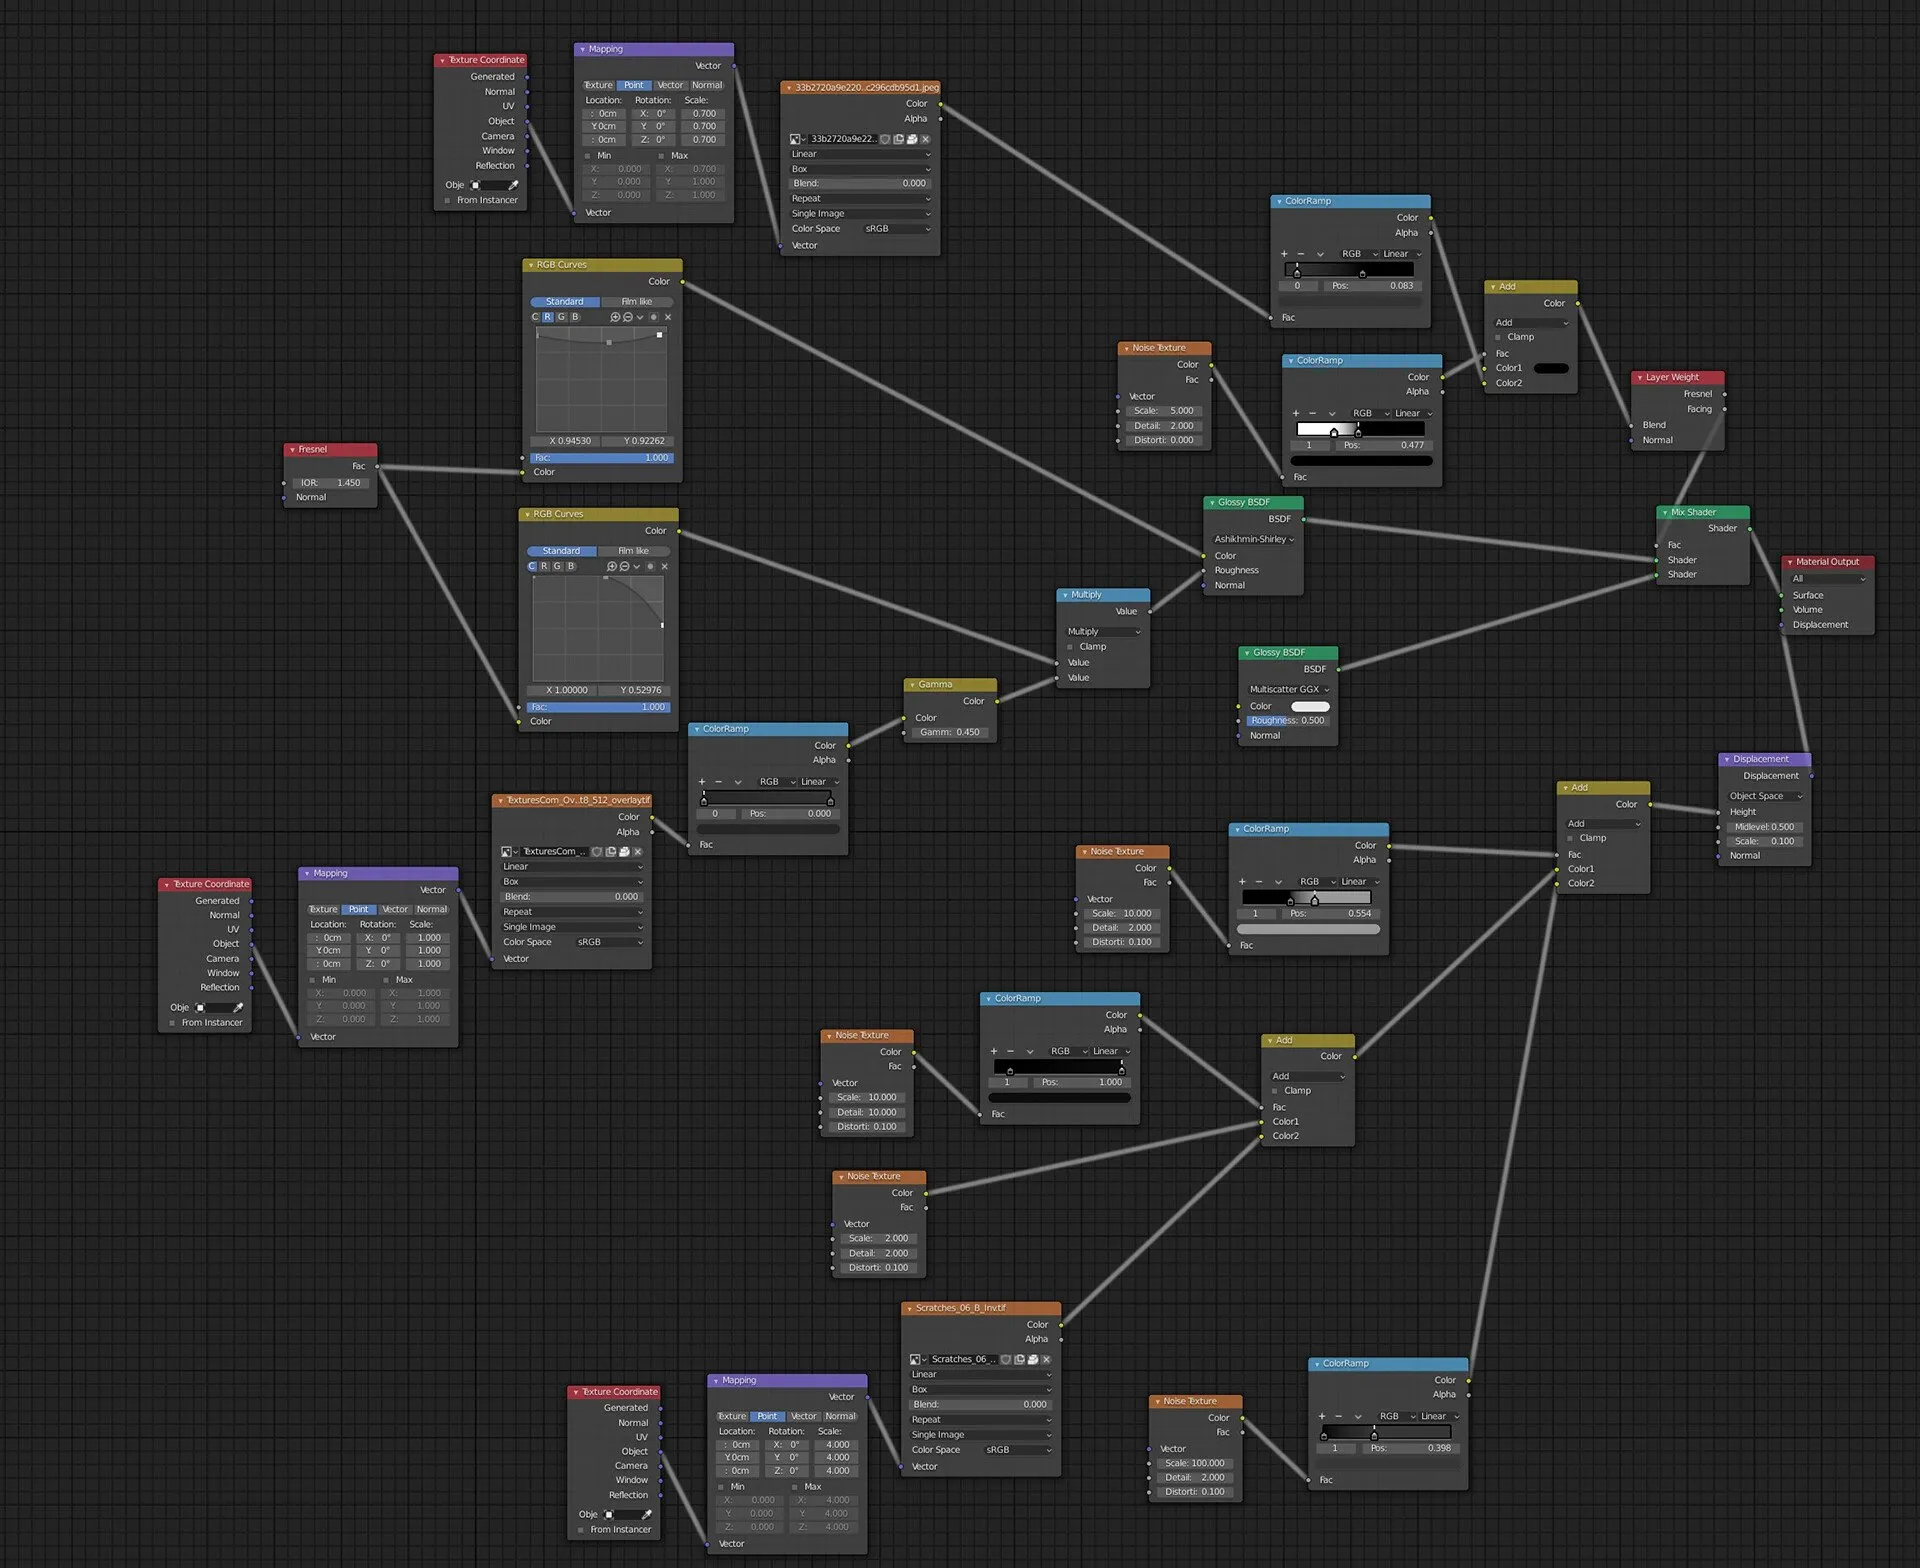
Also, if the Principled BSDF Shader can be really usefully and enables beginners to have more realistic materials by default, the possibilities of the Principled BSDF Shader are also limited. And I have the feeling that since the Principled BSDF Shaders got introduced, beginners stopped looking at the other material options that Blender offers.
So I want to encourage you to take the time and create nice and complex shaders. A good example for someone who does this is String Fairy.
Do post processing!
Post-processing is something that not only can make your rendering look better, it can also can make your images more realistic by emulating effects, that the cameras are doing, like lens distortion, adding grain, adding a vignette, and so on.
Use premade Assets
Do it like Beeple!
In general, the more details are in your scene, the more realistic everything will look.
But often it is impossible to model everything by yourself, which leads to simplifying things.
Some good addresses, where you can find good assets, are:
- www.blendermarket.com
- www.quixel.com
- www.sketchfab.com
- www.blendswap.com
- www.turbosquid.com
- www.cgtrader.com
Try other Render Engines
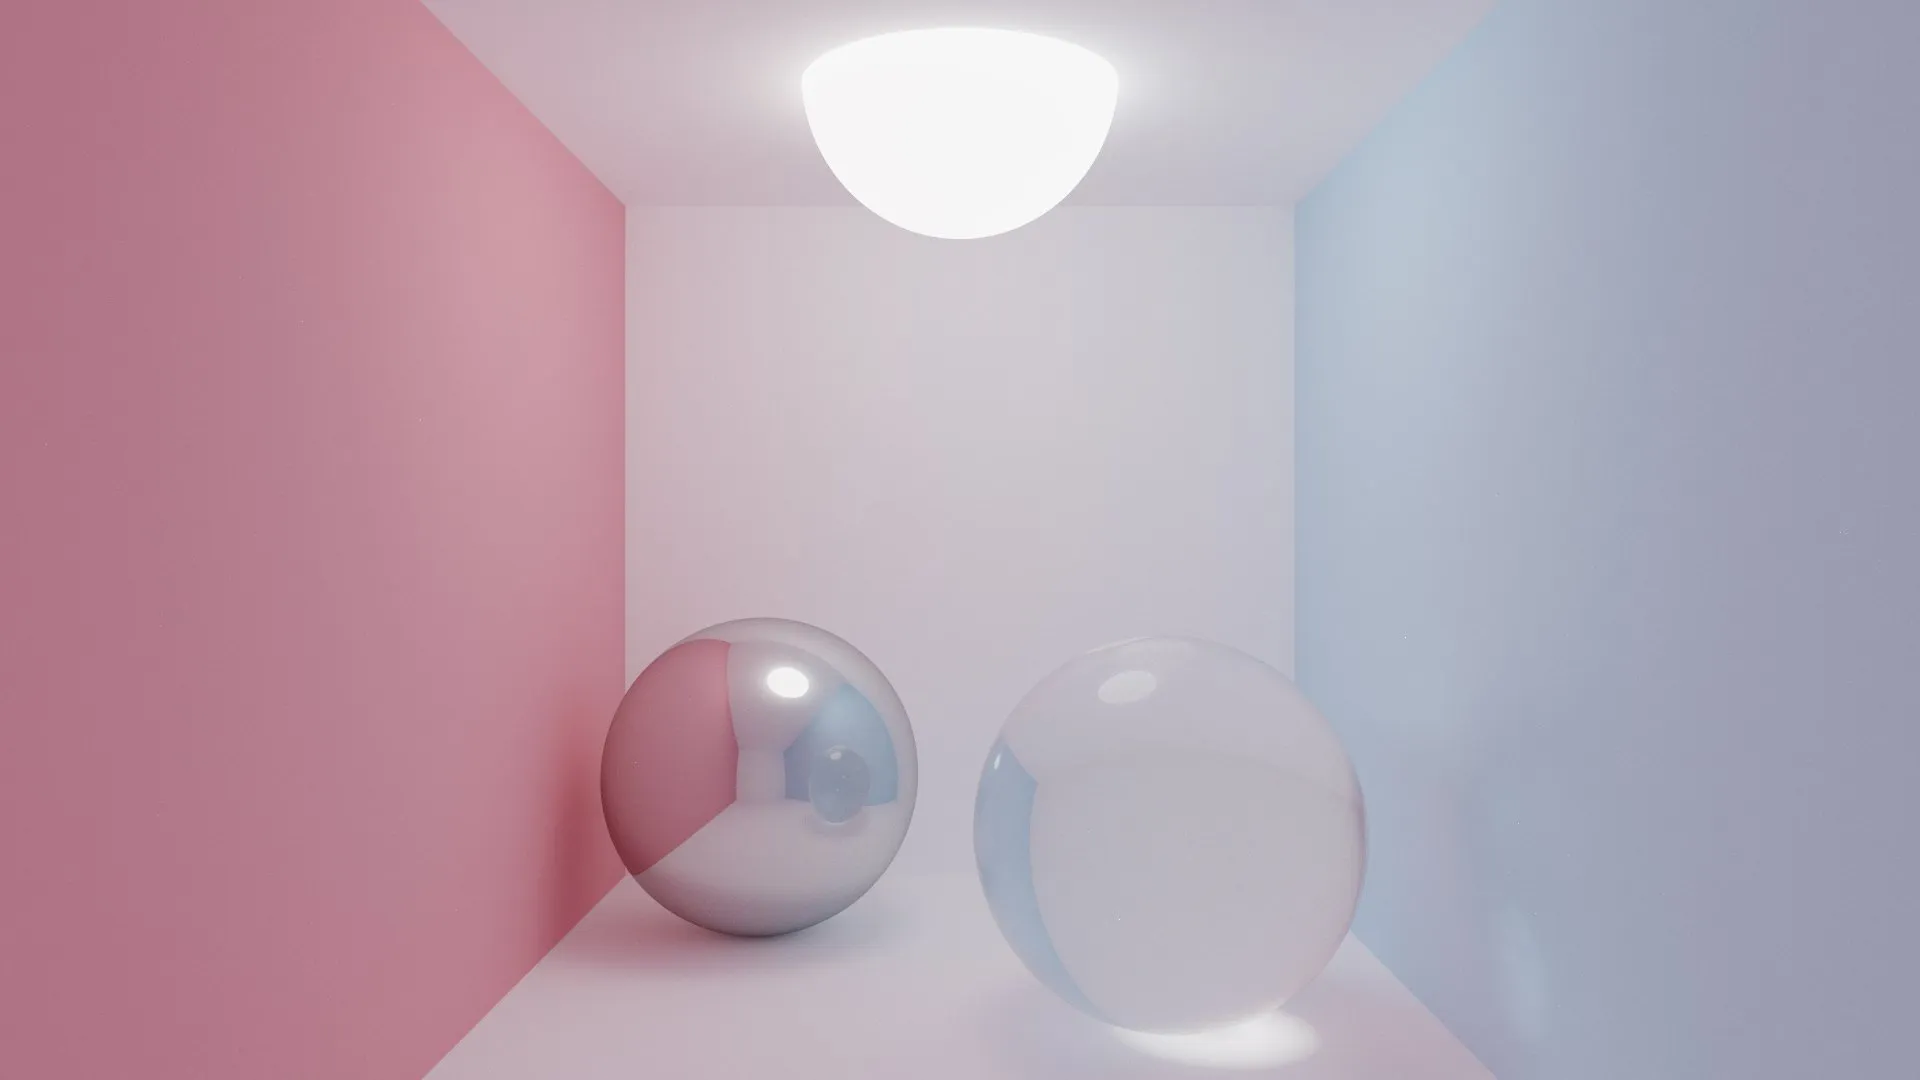
Cycles is good in most scenarios, but there are scenarios in which cycles performs not that well. The best example are scenes with a lot of glass, water, or similar materials because cycles are bad at creating caustics (which is the bright point on the right that you can see in the image above that I rendered with Lux Core Render).
Compared to the Lux Core Render Engine, which is probably the best Blender-compatible Render Engine for physical accuracy.




Now, that’s something everyone should know before they start their blender journey!