HDRIs/ Environment Textures
in Blender
Table of COntent
In this article, you will learn how to light your scenes in Blender with HDRI/environment textures and share some tricks and free resources as a professional 3D motion designer.
Real vs. Fake HDRI
HDRI stands for “High Dynamic Range Image.” Which basically means that images can have darker and brighter spots than images with a normal dynamic range..
Which makes them more detailed and lifelike than normal images. Especially for environment textures, this can make a big difference.


Those files usually end with .hdr or .exr.
Where to Download Environment Textures
Here is a List of Websites, where you can download HDRI Images
Maybe the Article Best Resources for 3D Artist could also be interesting for you
Setting up Environment Textures in Blender
Setting up an environment texture is pretty easy.
Not matter if you are using Cycles or Eevee just switch to the World Properties Tab and click on the dot on the left side of Color. Then, just select Environment Texture (or press “E” on the keyboard) and click on Open to open your image file.
Projection
In the viewport, an HDRI should look like you are right in the middle of the environment if you tour around. If that is not the case and everything looks distorted, the projection method could be set wrong.
Blender has two Projection Methods Equirectengular and Mirror Ball. Most HDRIs like the ones from Polyhaven are Equirectengular but some like the ones from Dosch Design use Mirror Ball.

Modify an Environment Texture
If you switch to the Shade Editor and over there switch from Object to World you can modify the image as well as the orientation of the image inside Blender, like with a normal texture.
Common Modification for Environment Textures
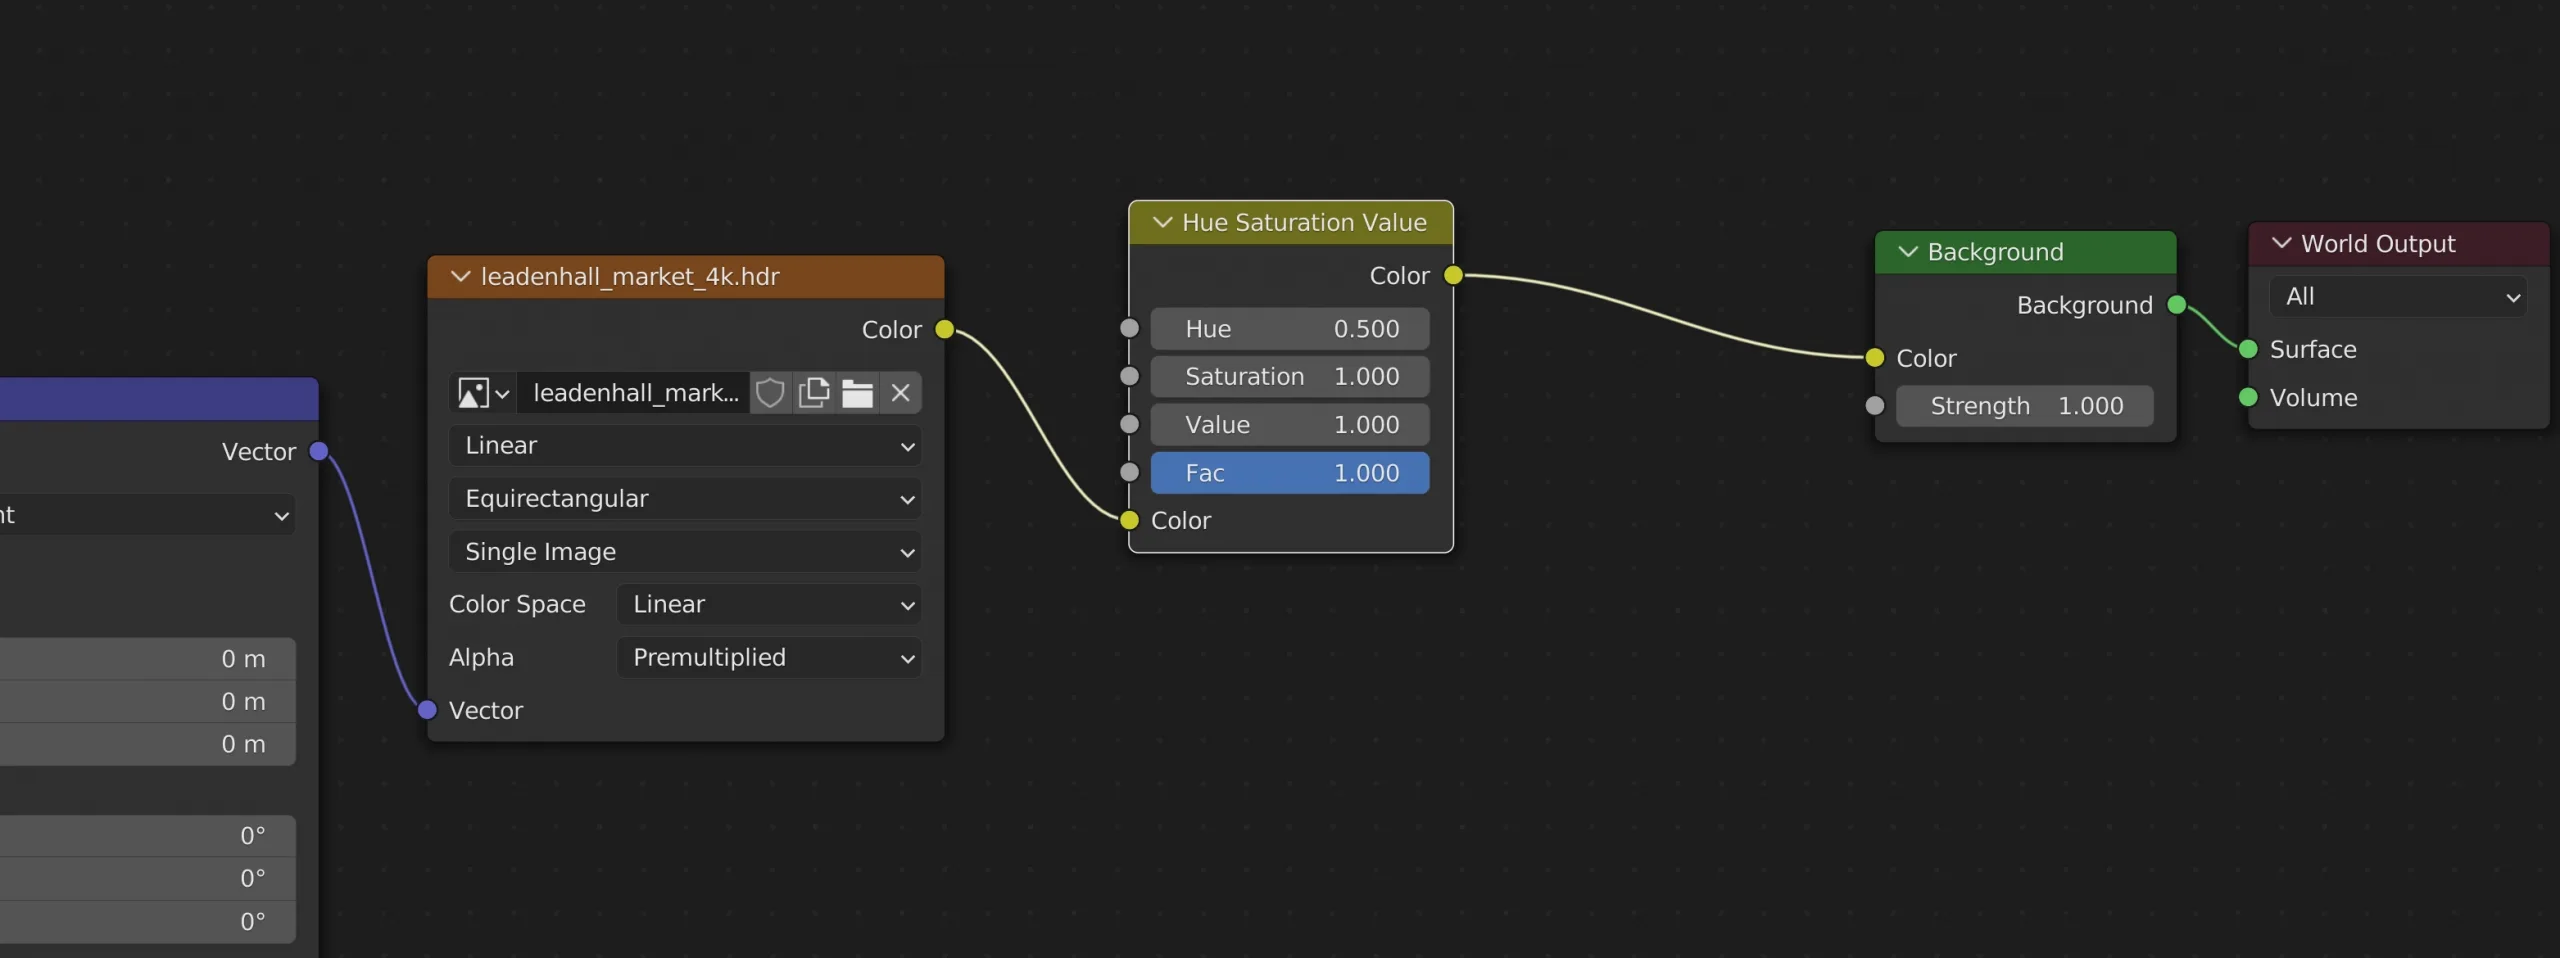
Change HSV
With a Hue Saturation Value Node between the Image ad the Background Node, you can change those values.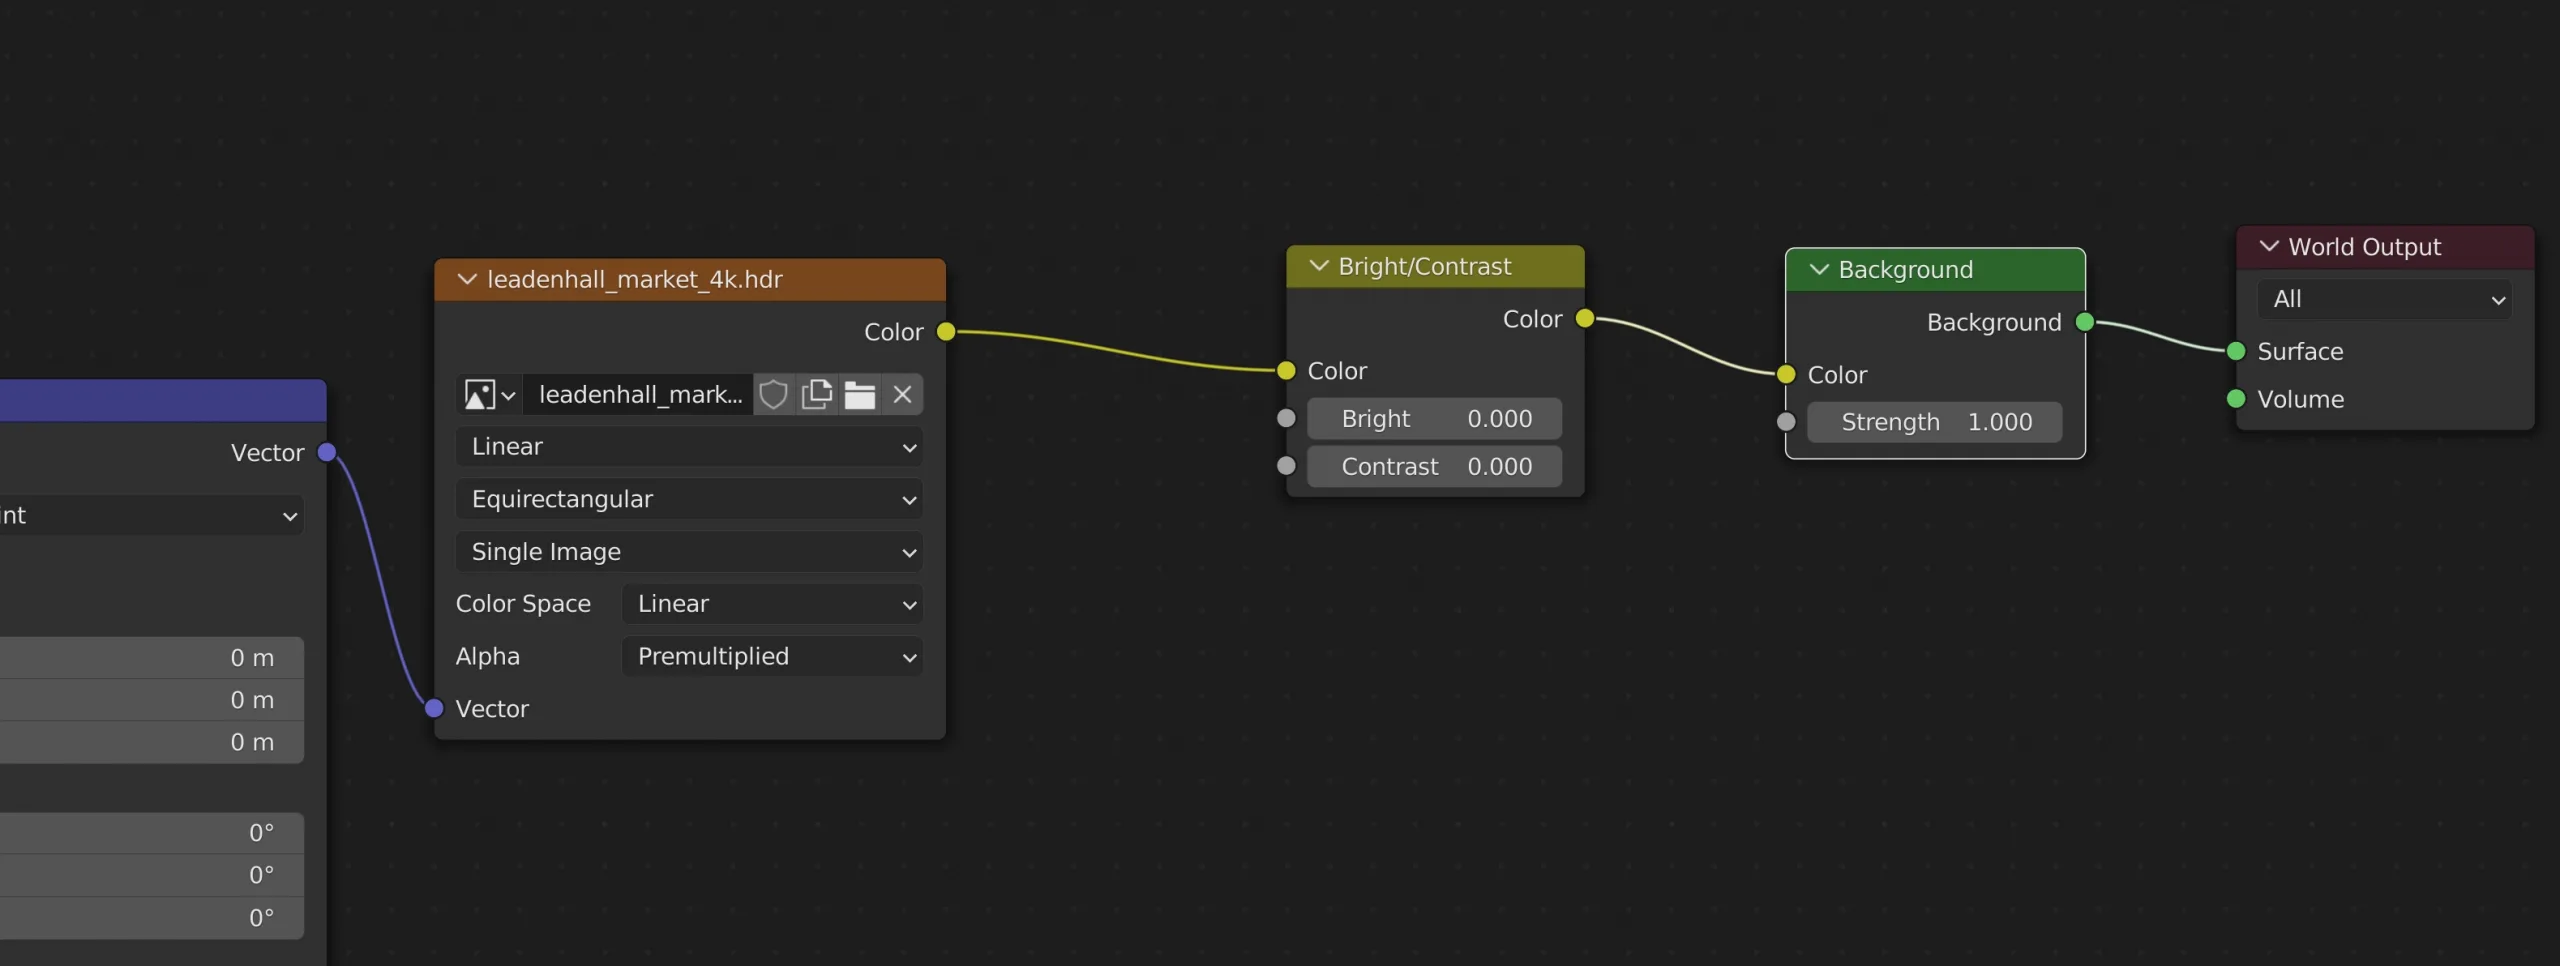
Change Brightness and Contrast
With the Bright/Contrast Node between The Image and Background Node you can change the brightness and contrast.Supplementing Environment Textures
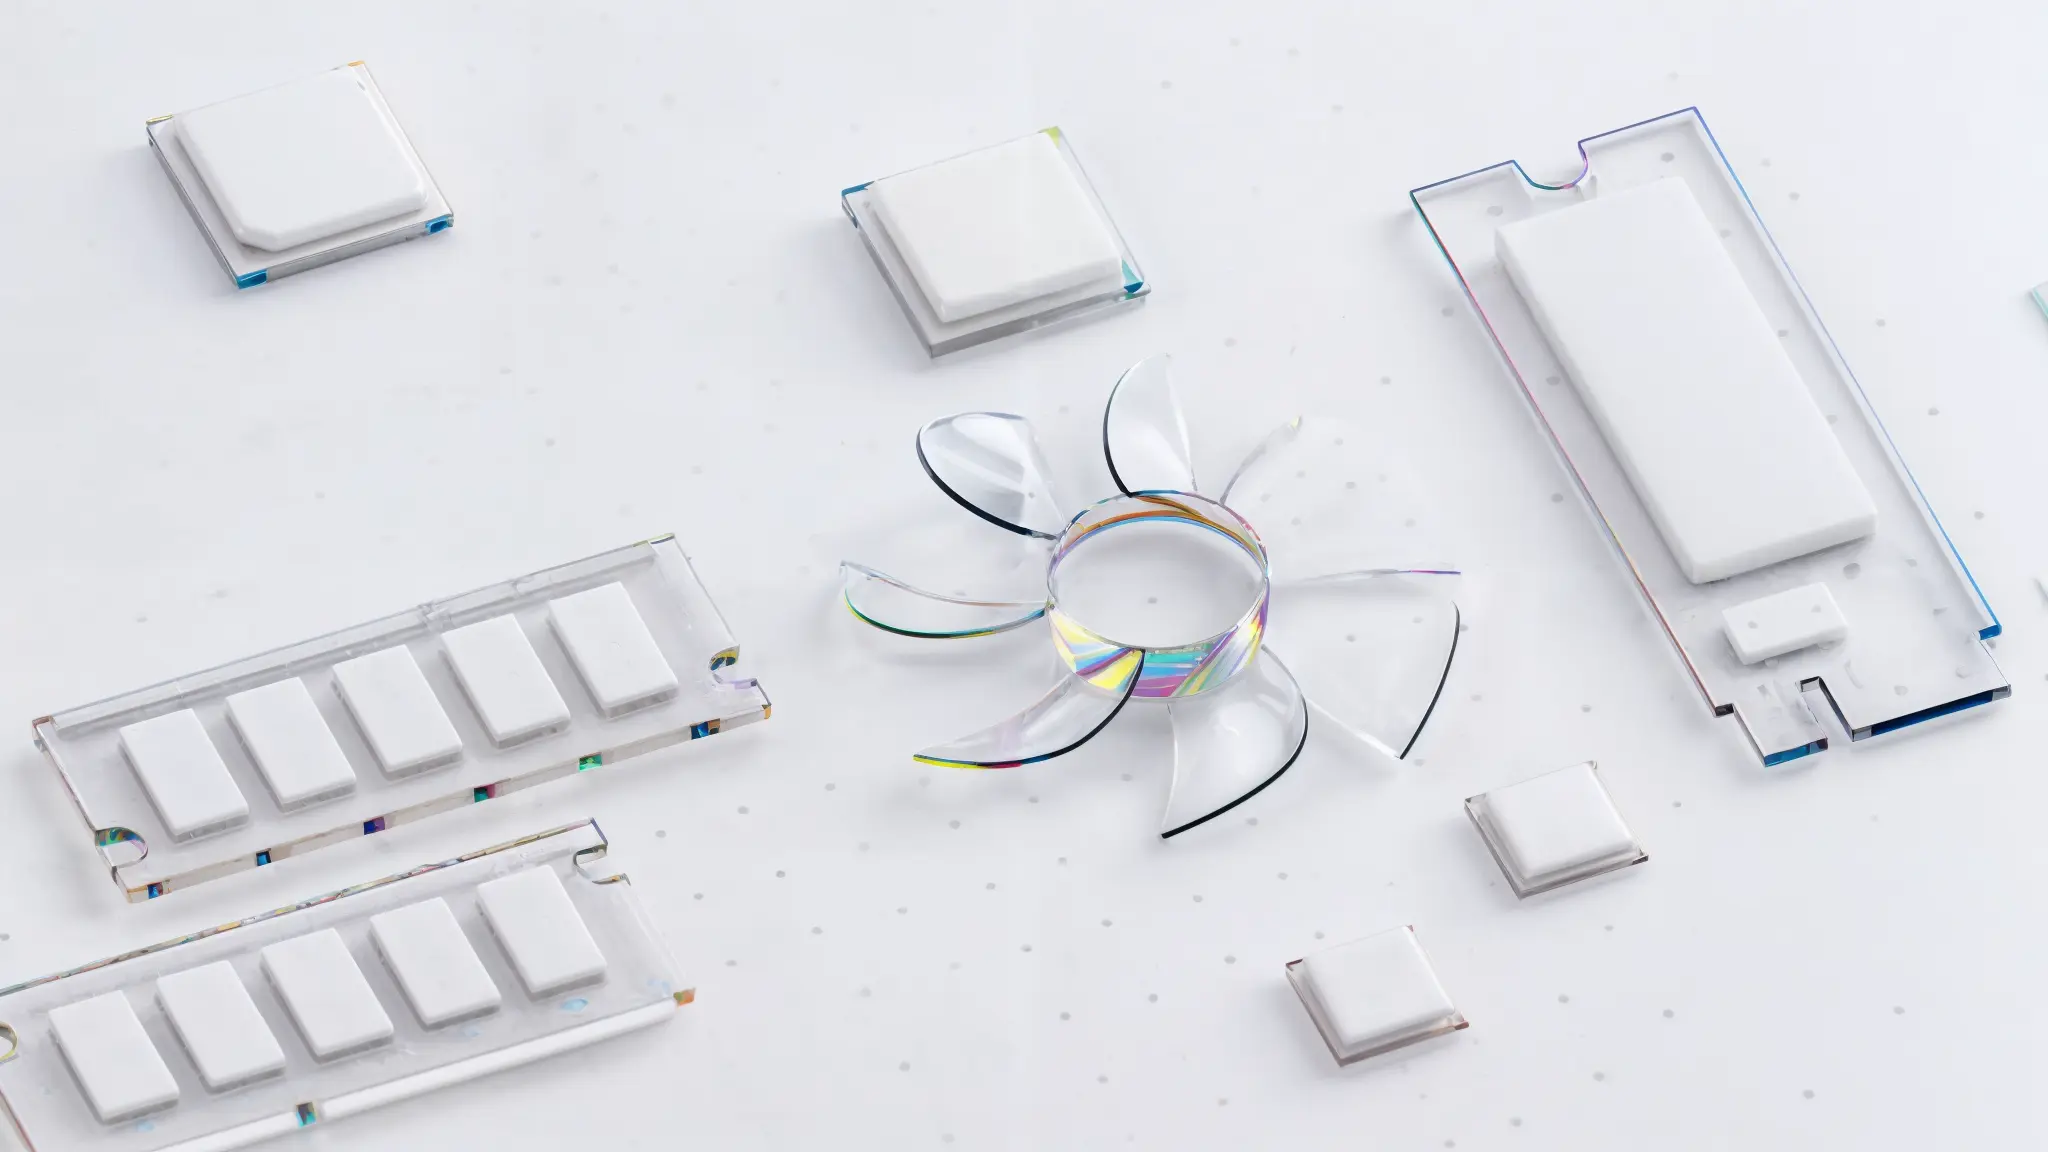
The Launch spot for Onlyfy one was the last project, in which I used an HDRI as my base for the lightning and supplemented it in this case with a simple Plane with a blue diffuse Material.
This makes the bottom of the laptop reflect the blue color, which helps, to make the object seem more integrated in the Background.

There are all kind f things you can do, like adding an extra light to emphasize something. Or create a shadow to make something less visible.
Create your own HDRI
In the past creating HDRIs was really hard you need to take a lot of Images at different exposures from different angels, which required a Camera and a special Tripod Head.
But these days making HDRIs is really easy.
I think especially for VFX where you combine Video Footage or Photos with 3D having the perfect Lightning out of the Box can save a Lot of time.
HDReye
In the past I already made it with an App called HDReye. You can take a look at the result here.
And it is really simple and takes a few Minutes. You can make on for free and after that it costs $ 7.99 / Month which I think is Okay.
But it is only available for iOS
There are also a lot of alternatives, but makes sure you create an HDRI and not a normal .JPG. Since that would make your renderings look flat as shown at the beginning.